Most lawn mistakes are obvious fairly quickly. You cut too short and the lawn browns within days. You skip watering after sod installation and it starts dying within a week. You ignore a drainage problem and the same patch fails again by summer.
But there’s one mistake I see repeatedly across Greater Sudbury that doesn’t behave that way. It looks like success. The lawn looks great after installation. It looks fine through the first winter. It comes back green in the second spring. And then, somewhere in the second or third season, it starts declining — and the homeowner has no idea why, because as far as they can tell, they did everything right.
I’m Ryan Lingenfelter, owner of Cutting Edge Lawn & Landscaping in Garson, Ontario. Here’s exactly what this mistake is, why it produces a delayed failure rather than an immediate one, and how to tell if it’s what’s happening on your lawn right now.
The Mistake — Sod Laid Without Addressing What’s Underneath
The mistake is installing sod — sometimes professionally, sometimes DIY — without properly preparing the soil underneath first. Not surface preparation. The actual soil condition: compaction, soil structure, drainage, thatch from whatever was there before.
This sounds like an obvious thing to get right. And in principle it is. But in practice, there’s significant variation in how thoroughly soil preparation is actually done before sod goes down, and the consequences of inadequate preparation don’t show up immediately. That delay is exactly what makes this mistake so costly — by the time the problem is visible, the homeowner has usually spent real money on a job that needs to be done again.
I’ve documented why proper soil preparation is non-negotiable from a technical standpoint in what good sod installation actually involves — tilling to depth, topsoil incorporation, drainage addressed before anything goes down. But knowing that it matters doesn’t fully explain why skipping it produces delayed failure rather than immediate failure. That mechanism is worth understanding in detail.
Why This Mistake Is So Hard to Catch
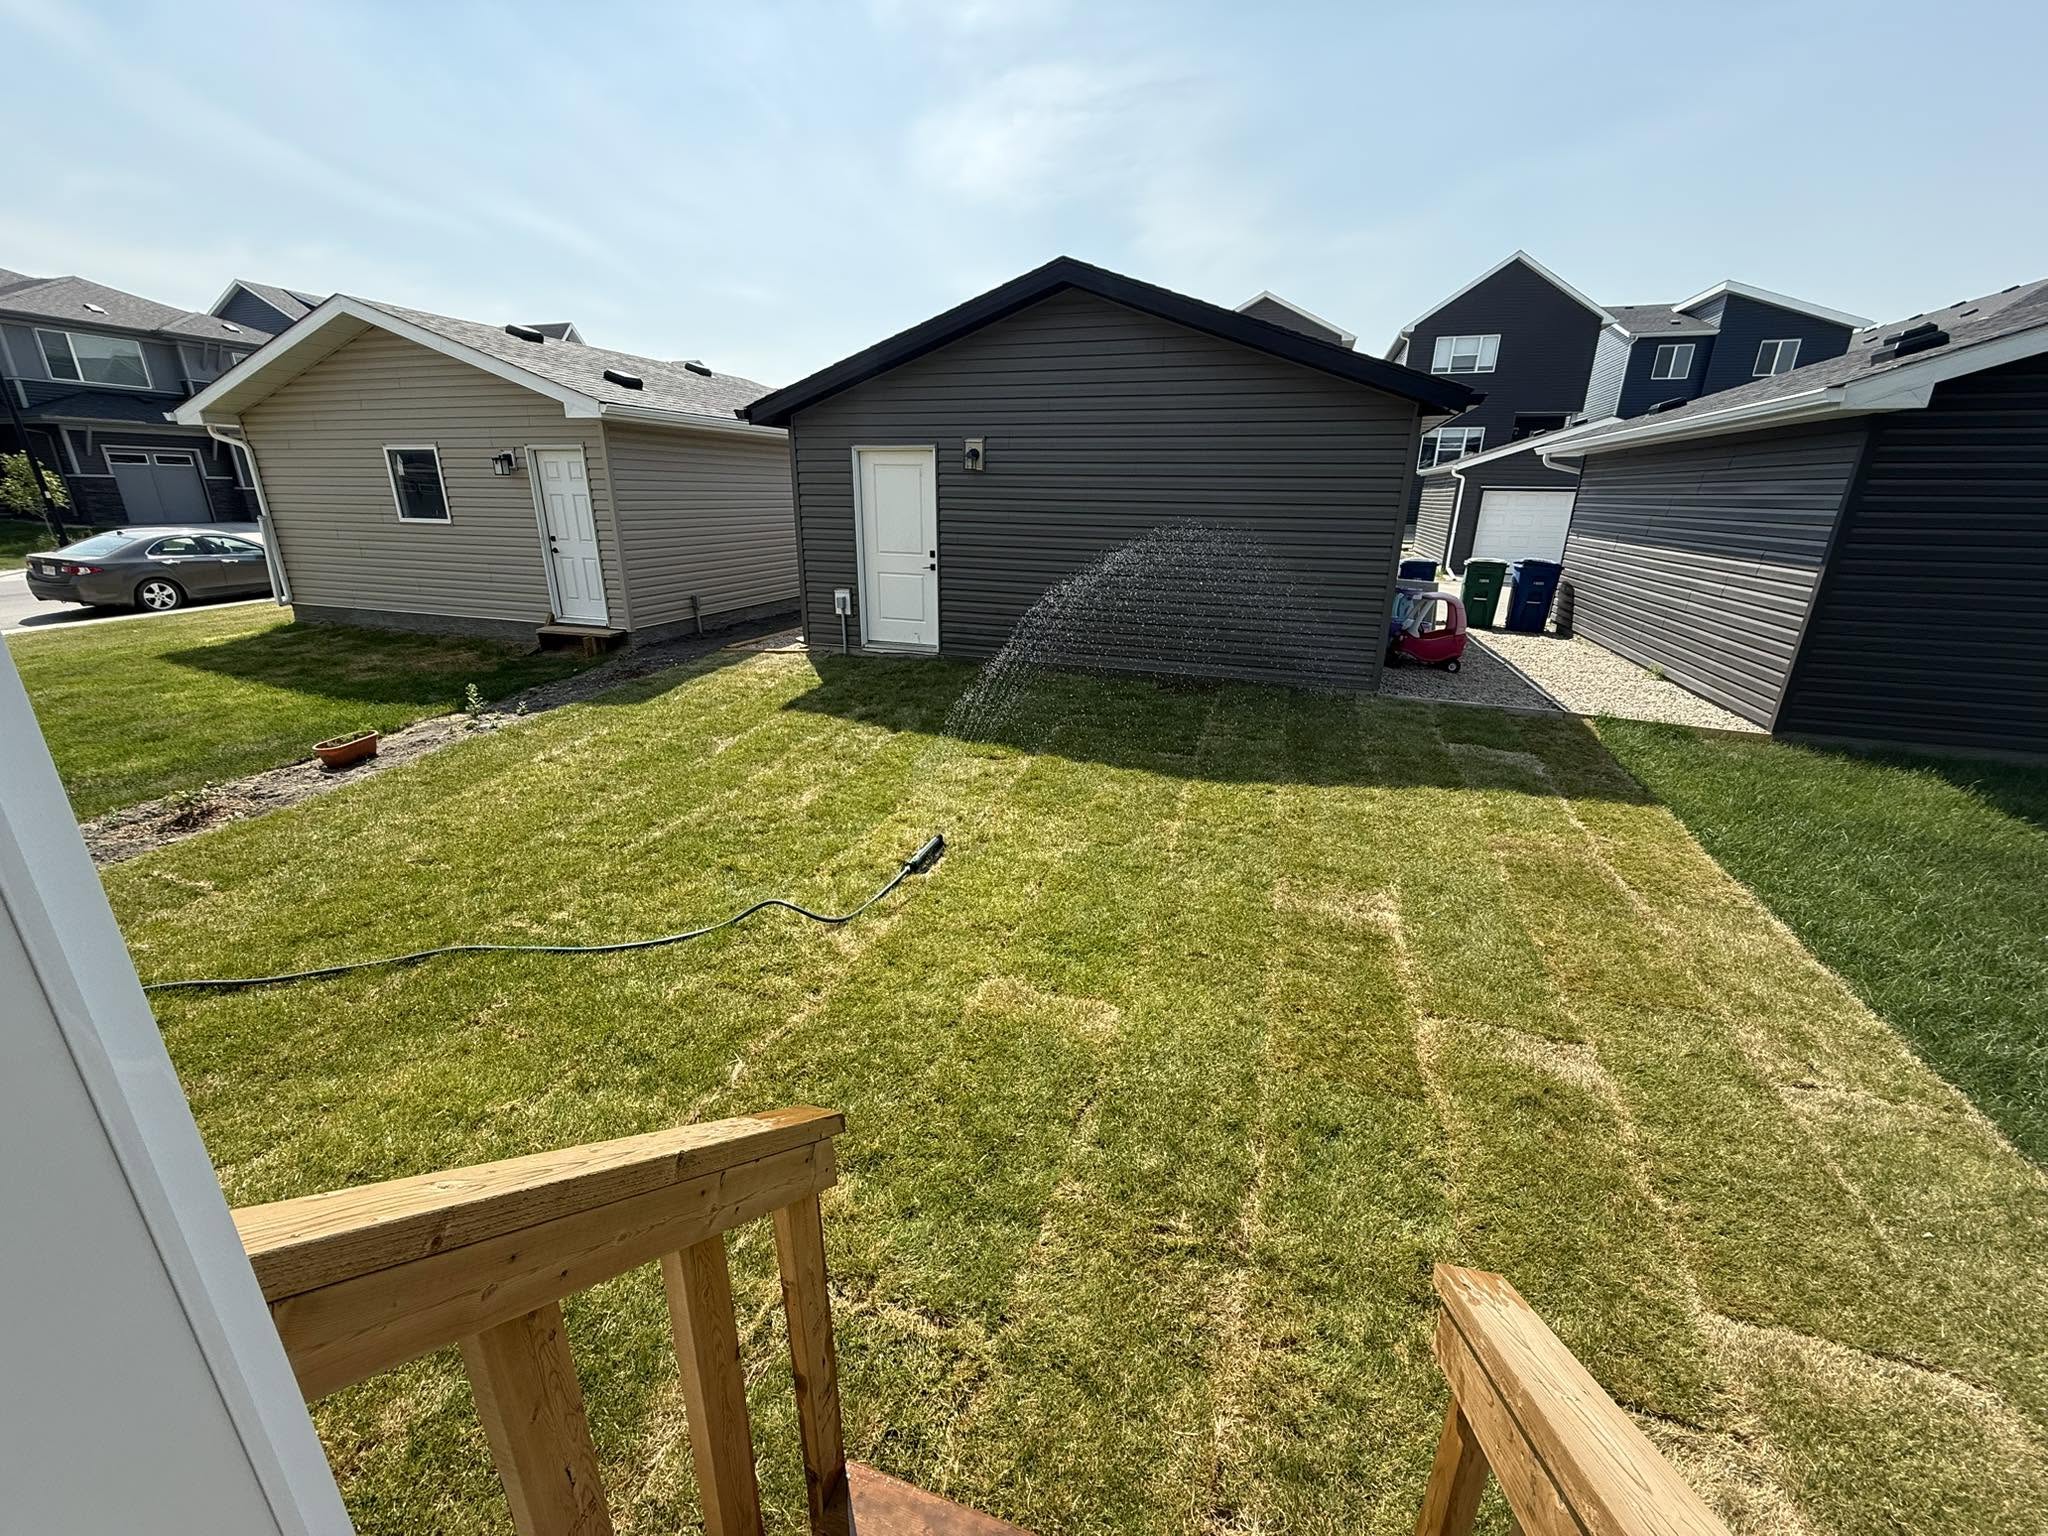
When sod is installed — even on inadequately prepared soil — the first few weeks look the same regardless of what’s underneath. The sod is green when it arrives. It’s green when it’s laid. It establishes roots into whatever it’s sitting on, because even compacted clay has some moisture and some biology in it. The surface looks like a success.
Through the first summer, the sod is drawing on the resources stored in the sod itself — the soil layer it came from, the roots that were established at the farm, the starter fertilizer applied at installation. These resources carry the plant through the first growing season reasonably well even when the soil underneath is significantly compromised.
Through the first winter, the grass goes dormant. Dormant grass doesn’t show stress. It doesn’t show thinning. It just stops growing and turns brown the way all dormant grass does in a Sudbury winter. There’s nothing visible in this period to suggest anything is wrong.
The second spring, the grass comes back. At this point, the stored resources from the original sod are largely exhausted, and the plant needs to function entirely on what it can access from the soil it’s rooted in. If that soil is significantly compacted — if the roots couldn’t go deep during the first season because they hit a hard clay layer — the plant is now surviving on a shallow root system with very limited access to moisture and nutrients from depth.
This is the moment when the deferred consequences of inadequate soil prep begin to appear. The lawn that looked fine for a full season and a half starts to show it’s operating on a root system that was never able to establish properly.
What’s Actually Happening Underground in Year One
To understand why the failure is delayed, you need to understand what the root system is actually doing during that first successful-looking season.
When sod is laid on properly prepared soil — soil that’s been tilled four to six inches deep, with quality topsoil incorporated and compaction broken up — the roots have pathways to go deep. Through the first growing season, they push down progressively, building a root mass that can access moisture from several inches below the surface. By the end of the first season, a well-installed lawn on properly prepared soil has roots that can reach four to six inches down, giving it real buffering capacity against heat, drought, and winter stress.
When sod is laid on compacted soil that wasn’t properly prepared, the roots encounter resistance almost immediately. They can penetrate an inch or two — maybe a bit more in the softer surface layer — but below that they hit the dense clay hardpan that wasn’t broken up before installation. Unable to go deeper, the roots spread laterally within the shallow zone that’s accessible to them.
A lateral root system in the top inch or two of soil is a vulnerable root system. It has access only to what’s in the surface layer: moisture that evaporates quickly in summer heat, nutrients that leach out with rain rather than being stored at depth, no buffer against the freeze-thaw cycles that affect the very top of the soil most aggressively in a Sudbury winter.
This is why the first season often still looks fine — the surface layer is adequate for basic survival when temperatures are moderate and rainfall is reasonable. The system isn’t healthy, but it’s functional enough not to show obvious symptoms yet. The Sudbury summer of year one might be relatively forgiving. The first winter might not be unusually harsh.
The deferred failure accumulates gradually. Each stress event — a dry week in July, a hard freeze in November, a wet spring that keeps the shallow soil saturated longer than the shallow roots can tolerate — leaves the plant slightly more depleted than a properly rooted lawn would be. By the second summer, when the lawn is operating entirely on its own resources rather than the legacy capacity of the original sod, the accumulated stress becomes visible.
Year Two — When It All Comes Apart
The second-year failure pattern is fairly recognizable once you know what to look for, though it can be mistaken for several other problems if you don’t check the soil specifically.
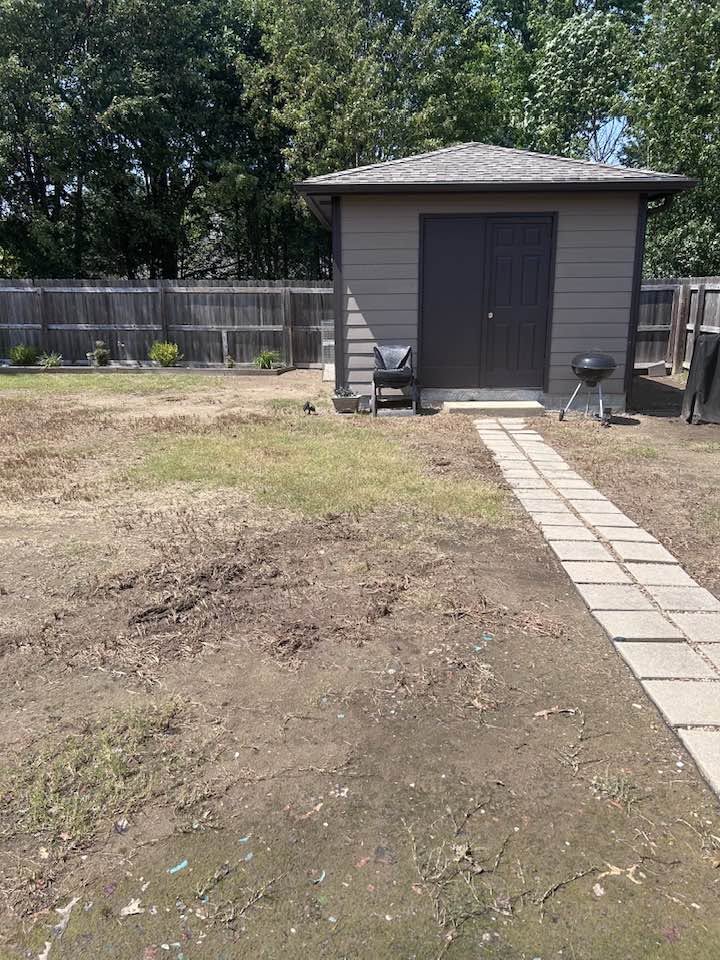
The lawn that looked uniformly green in year one starts showing uneven density in the second growing season. Some areas look fine. Others are clearly thinning — not dramatically dead, but noticeably less full than they were last year. By midsummer, the thinner areas may be going brown earlier in heat stretches than the areas that are holding on.
By year three, the areas that were thinning in year two often have significant bare coverage. The homeowner has usually tried overseeding into the bare spots — sometimes more than once — without success, because the seed encounters the same compacted soil that caused the original failure and can’t establish for the same reasons.
This is the pattern I described in the specific story of a Val Caron property where sod had been installed twice before I was called in — both times without addressing the drainage and soil issues underneath, both times producing a lawn that looked fine for a season and then failed. I detailed why that happens and why the third time required a fundamentally different approach in the article about that Val Caron homeowner. The mechanism in that story is slightly different — drainage was the primary factor rather than pure compaction — but the delayed failure pattern is identical.
The homeowner in year two or three typically doesn’t connect the failure to the original installation. From their perspective, the lawn was installed, it looked great, and then it deteriorated. They assume something changed — the weather got hotter, the grass type was wrong, their watering schedule shifted. The installation itself, which was the actual cause, happened far enough in the past that it doesn’t feel like the obvious explanation.
How to Tell if This Is What Happened to Your Lawn
If your lawn had sod installed one to three years ago and is now thinning or developing bare patches in ways that don’t respond to overseeding, the delayed soil prep failure is worth testing for specifically. Here’s how.
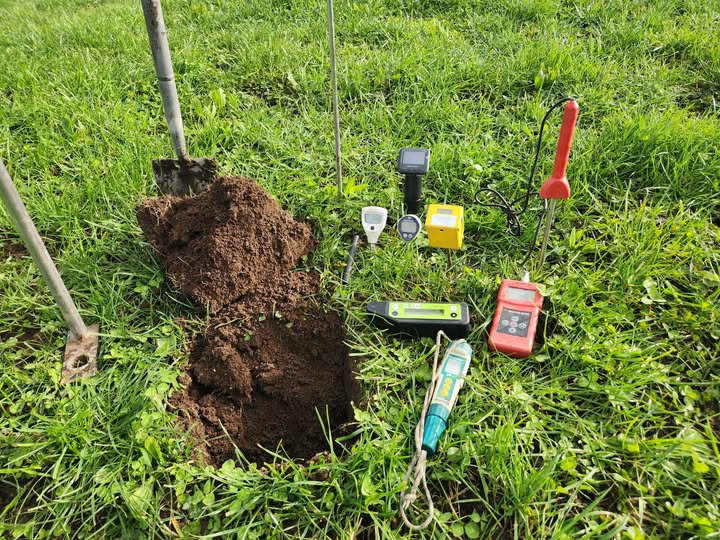
The Screwdriver Test in the Affected Areas
Push a flathead screwdriver into the soil in the areas that are declining — and then do the same test in an area that’s still doing well, for comparison. If the screwdriver stops significantly shallower in the declining areas than in the healthy areas, compaction is likely the cause of the differential performance.
On a properly prepared and installed lawn that’s two to three years old, the screwdriver should go in two to three inches with normal pressure across most of the lawn. If you’re getting less than an inch in the problem areas, the soil underneath was almost certainly not adequately prepared before the sod went down.
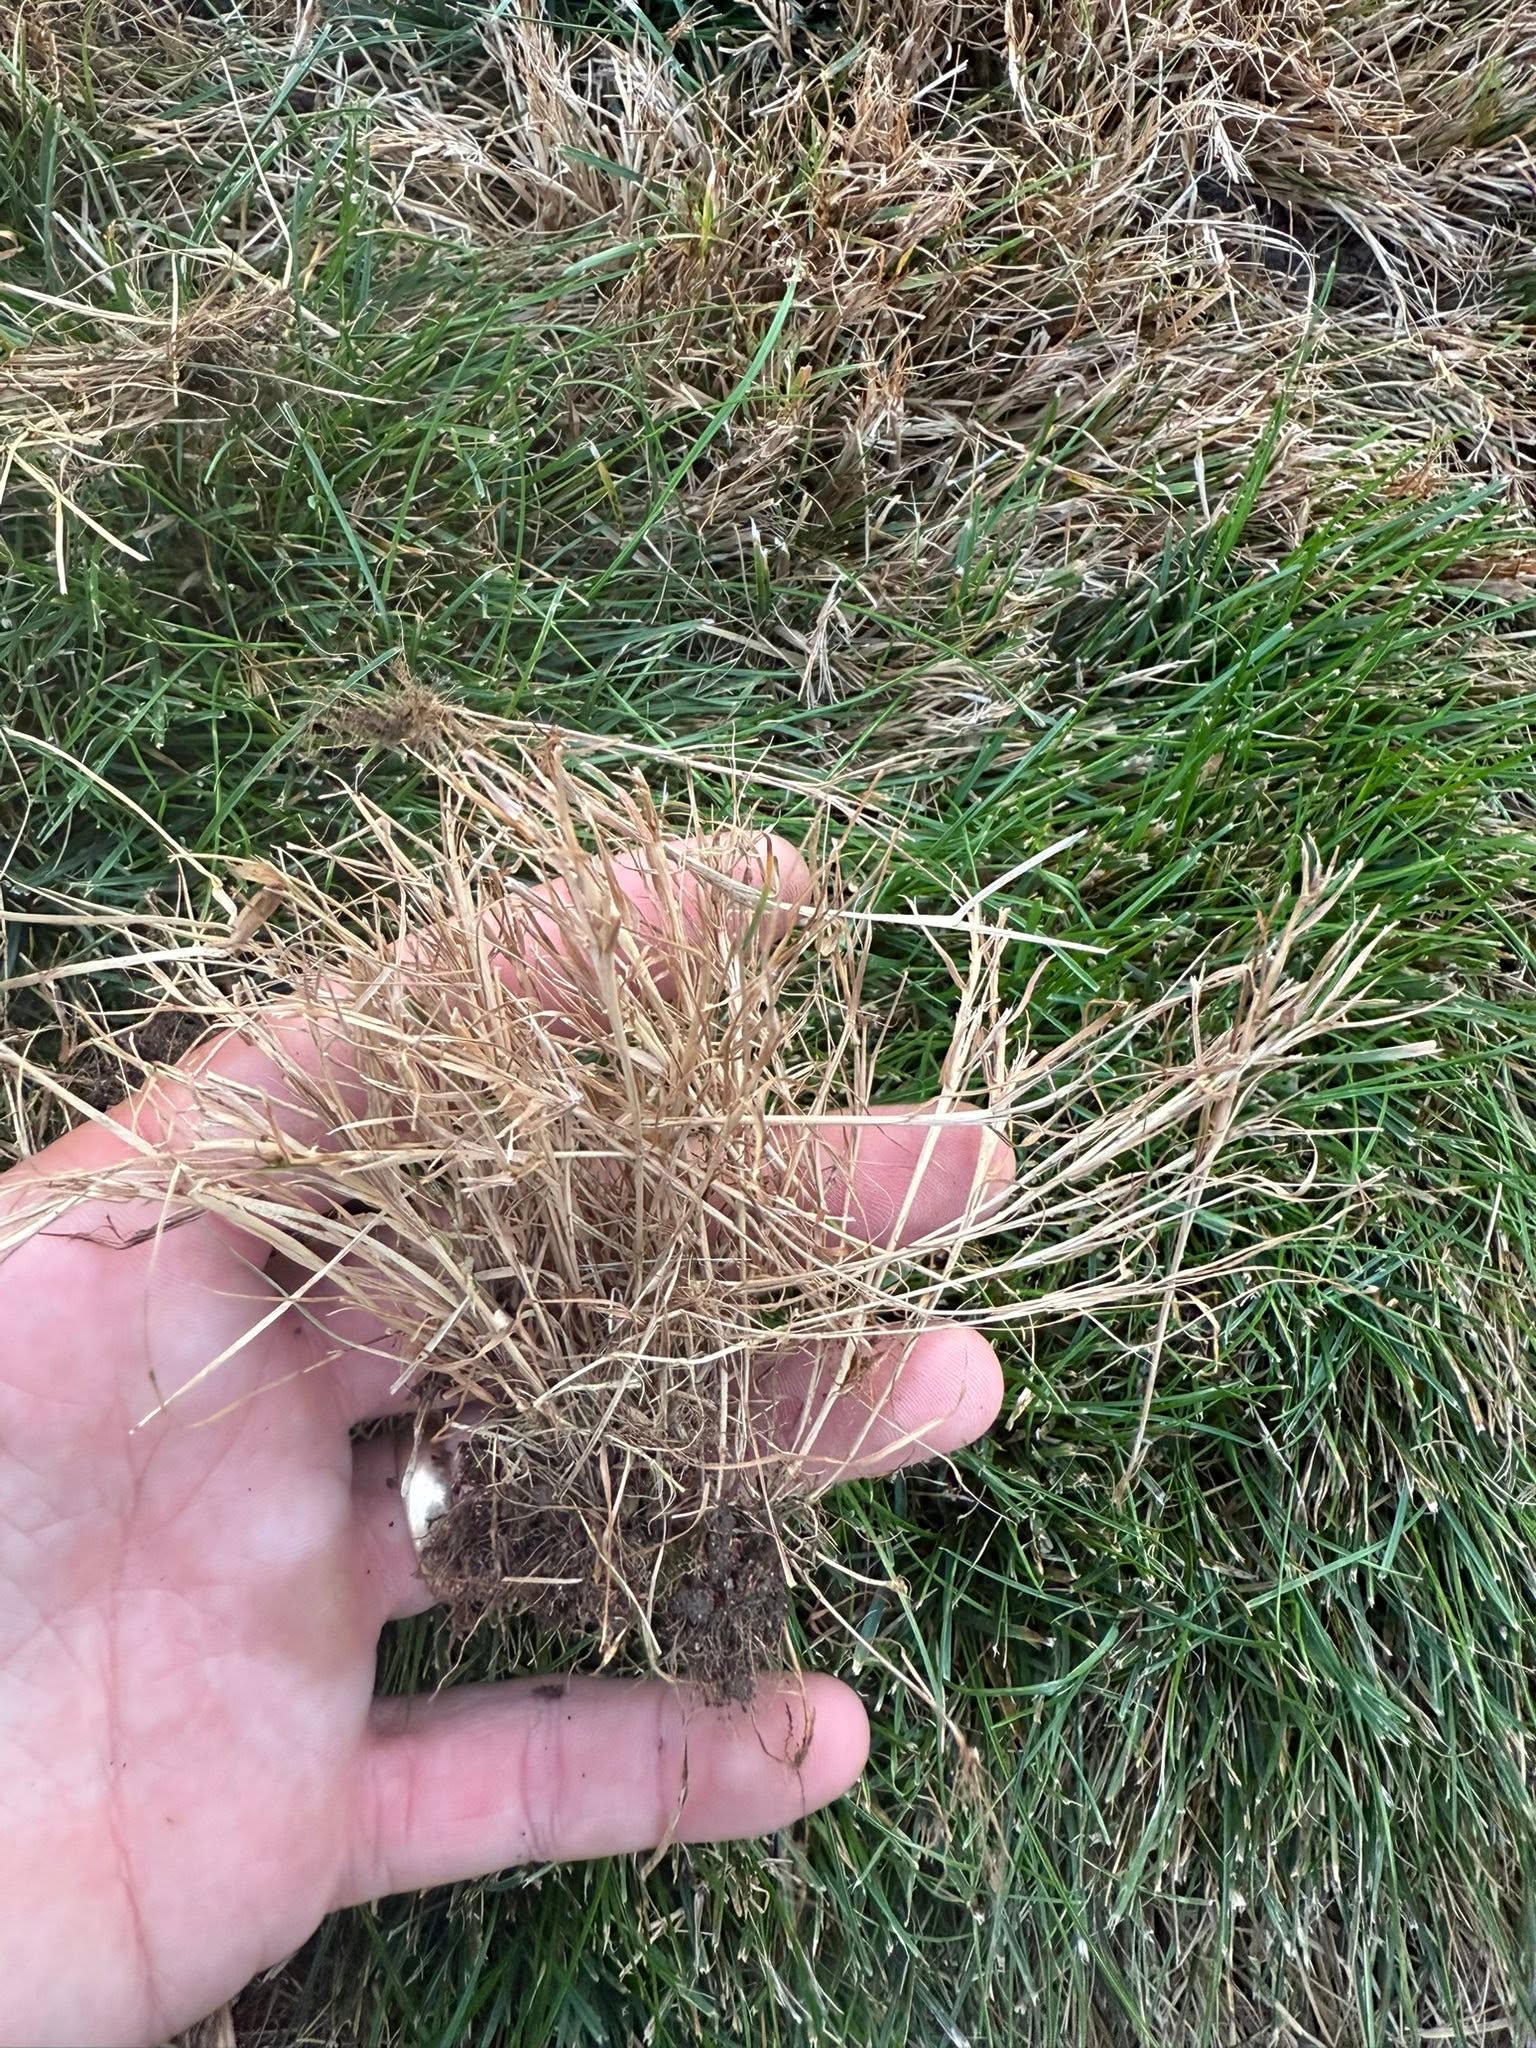
The Tug Test
Grab a handful of grass in a thinning area and pull gently. Properly established grass with roots going several inches down resists firmly. Grass with a shallow root system — because it couldn’t penetrate compacted soil below an inch or two — pulls up more easily than it should, sometimes with the whole shallow root mat coming away cleanly.
If your two-year-old lawn pulls up in sections with minimal resistance, the roots never established at depth. That’s a soil preparation problem, not a watering problem or a grass type problem.
Compare Your Lawn to Adjacent Areas Not Included in the Installation
If part of your property was included in the sod installation and part wasn’t — if you have an older established section alongside the newer sodded area — compare the screwdriver readings between the two. Sometimes the older, never-touched section actually has better soil structure than the sodded area, particularly if the installation involved stripping and replacement without adequate re-preparation.
What the Fix Looks Like
If the screwdriver and tug tests confirm that compaction was inadequately addressed at installation, the honest answer is that aeration alone won’t fully solve it on a timeline that’s satisfying. Core aeration helps — significantly — and annual aeration from this point forward should be the baseline maintenance commitment. But severely compacted soil that was never properly broken up at installation may need a more aggressive intervention to fully recover.
On properties where the compaction readings are severe — screwdriver stopping at half an inch or less across the affected areas — proper restoration that addresses the soil at depth is often the more cost-effective long-term choice compared to several years of trying to recover through surface treatments alone. The full restoration process I use on these situations is detailed in the most extensive restoration I’ve done in Greater Sudbury — the soil work that should have happened at installation gets done properly, and the outcome is a lawn that can actually sustain itself going forward rather than continuing to decline.
For properties where the compaction is moderate rather than severe — screwdriver getting to an inch or an inch and a half — aggressive annual aeration combined with overseeding and correct maintenance through one full season often produces a meaningful recovery without full restoration. The key is correcting the maintenance approach going forward simultaneously, specifically the cutting height and watering depth I’ve covered in detail across several articles including the 4-step weekly lawn routine.
How to Avoid This on a Future Installation
The practical prevention is straightforward: before any sod installation, ask explicitly what soil preparation is included. Not a vague answer about “prepping the area.” Specific answers: how deep will you till, what topsoil will you incorporate, how will you address compaction, how will you confirm drainage is adequate before sod goes down.
A company that can’t give specific answers to those questions is a company that isn’t planning to do that work. The delayed failure I’ve described in this article is exactly the result you get when the sod itself is installed competently but the soil preparation was skipped or done superficially. The sod looks the same either way on Day 1. The difference shows up in Year 2.
I’ve covered what a proper quote for sod installation should include and how to evaluate it in the article about a Val Caron homeowner who showed me a competitor’s quote — the specific things that should appear in a quote for soil preparation are outlined there.
Is Your Lawn Showing This Pattern Right Now?
If you had sod installed in the past two to three years and your lawn is starting to thin in ways that don’t respond to normal care, reach out. I’ll come out, do the screwdriver and tug tests in the affected areas, and tell you honestly whether what you’re dealing with is a delayed soil preparation failure — and what the realistic path to actually fixing it looks like.
📞 Call or text me: 705-507-6787
Or fill out the free quote form here — I get back to everyone same day.
— Ryan Lingenfelter
Owner, Cutting Edge Lawn & Landscaping
Garson, Ontario
Related Articles
- I Turned Down the Same Val Caron Customer Three Times — Then Finally Said Yes
- The Worst Lawn I’ve Ever Seen in Greater Sudbury — And What It Took to Fix It
- A Homeowner in Val Caron Showed Me a Competitor’s Quote — I Had to Tell Her the Truth
- What Good Sod Installation Actually Involves — Ontario Homeowner Guide
- The 4-Step Sudbury Lawn Routine That Takes 12 Minutes Once a Week
- Why Lawns in Hanmer, Val Caron, and Chelmsford Are Different From City Sudbury