
I want to be careful how I say this because I don’t like talking about clients’ properties in a way that feels disrespectful. The people who end up with severely damaged lawns usually didn’t get there on purpose. Life gets busy. Health issues come up. Priorities shift. Properties get neglected not because the owner doesn’t care but because other things mattered more at the time.
I say that upfront because the lawn I’m about to describe was genuinely the worst I’ve encountered in five years of working across Greater Sudbury. And the homeowner — an older gentleman in his seventies who’d lived in the same house in Hanmer for over thirty years — was embarrassed about it when I walked the property. He didn’t need to be. He’d been dealing with some health issues for a few years, the yard had gotten away from him, and now he wanted it fixed.
That’s a completely human situation. And the lawn, despite everything, was fixable.
Here’s the full story of what we found and what it took to bring it back.
The Property — What I Was Walking Into
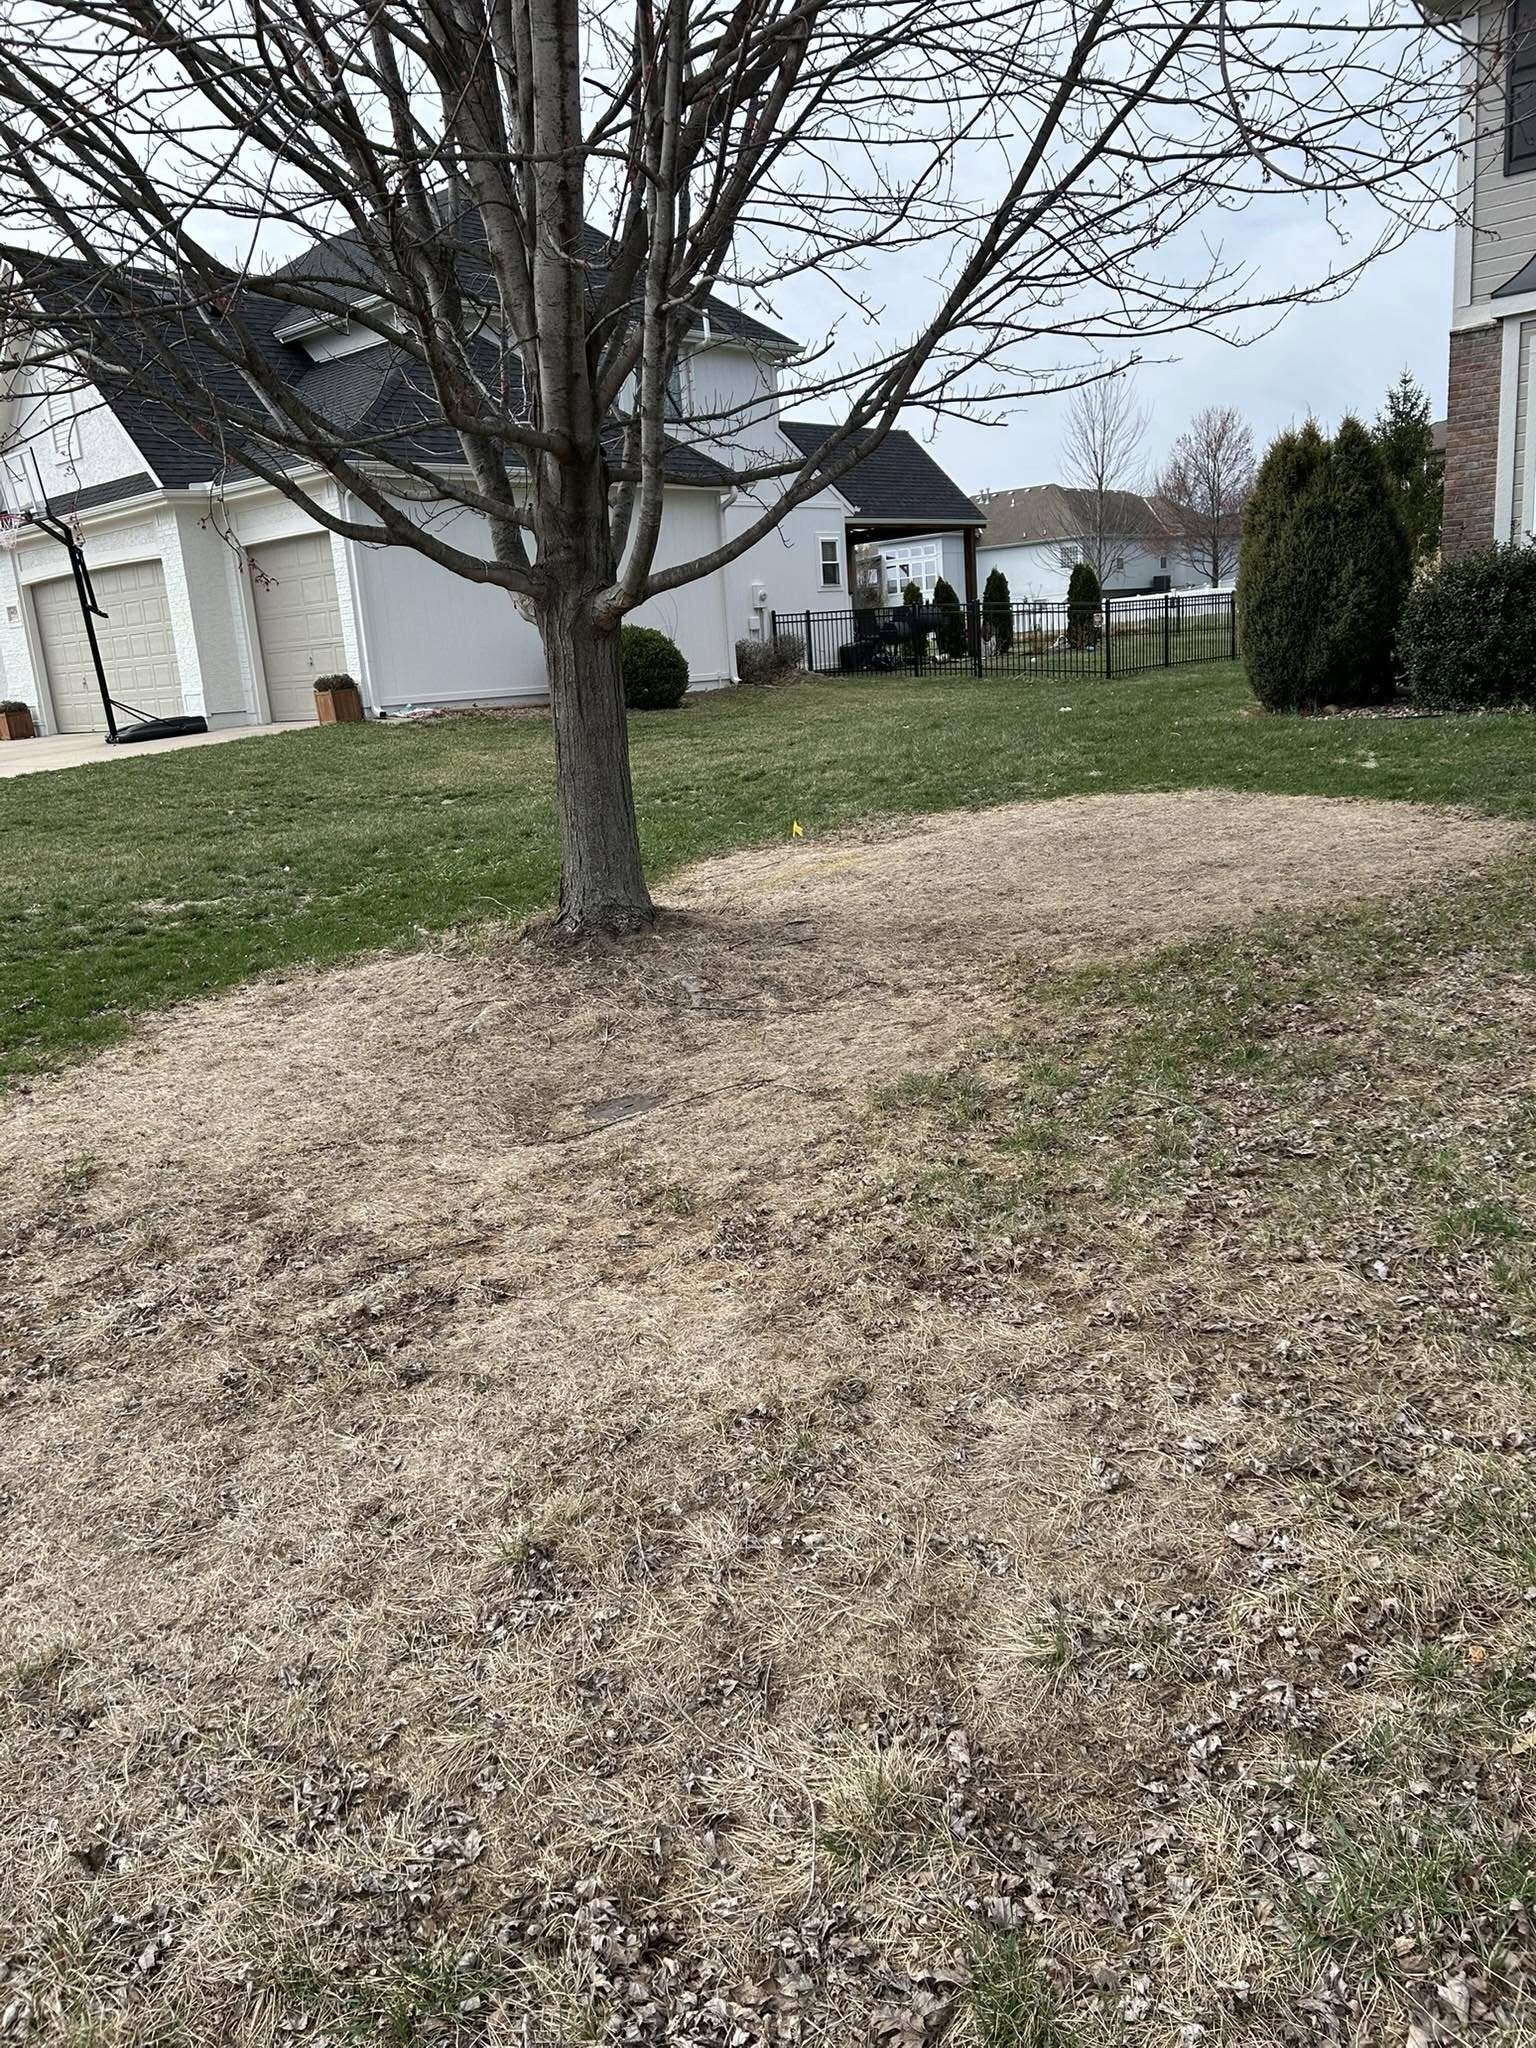
When I pulled up to the property, the front lawn was bad enough that I did a double-take. Brown, flat, and almost entirely bare in large sections — not patchy bare, but genuinely bare soil with a thin crust of dead thatch sitting on top. The only green visible was from weeds — creeping charlie, plantain, a few patches of clover — and even those looked stressed.
The backyard was worse.
About 2,400 square feet total — a large residential lot for Greater Sudbury. The back had clearly been the primary area for foot traffic, and years of heavy use without any maintenance had compressed the soil to near-concrete density. There were ruts worn into the ground along the fence line where a dog had run the same path for years. There were areas near the back of the house where water from the eavestroughs had been depositing directly onto the lawn for so long that the soil had eroded and created small channels.
One section near the back corner — probably 200 square feet — had standing water sitting on it even though it hadn’t rained in several days. Pure drainage failure on heavily compacted clay.
The thatch layer across the entire property was between one and two inches thick in most areas. That’s not a thatch layer, that’s a mat. Water was running off it rather than through it. Any seed that had been thrown down over the years had germinated in the thatch rather than the soil and died as soon as it dried out.
The homeowner, Ted, walked the yard with me quietly. When I got to the standing water section he said: “I know. That one’s been like that for years. I just stopped going back there.”
I told him we could fix all of it. It would take some work, but there wasn’t anything here that was beyond saving.
What the Diagnosis Found

Before we talked about solutions, I wanted to understand exactly what we were dealing with. A job this size deserved a proper diagnosis rather than just bulldozing ahead.
Here’s what I found working through the property systematically:
Soil Compaction — Severe
The screwdriver test across most of the backyard produced the same result: immediate hard stop at two to three inches. In some areas, particularly along the fence line and near the patio, I couldn’t push the screwdriver in at all without significant force. These were areas that had been compressed by foot traffic for decades without a single aeration. The soil structure was essentially destroyed.
Compaction at this level doesn’t just prevent grass growth. It changes how water moves through the soil entirely — instead of infiltrating down, water sits on the surface and either evaporates or runs off. This was contributing directly to the drainage problem in the back corner.
Thatch — Way Beyond Normal
A healthy lawn has a thatch layer of about a quarter to half an inch. Ted’s lawn had one to two inches throughout and areas near the eavestroughs where it was approaching three inches — a buildup of years of decomposing grass material that had never been cleared. Thatch this thick is a physical barrier. Water can’t get through. Roots can’t get into the soil. Seed can’t germinate in contact with soil. The lawn was essentially trying to grow on top of a layer of dead material rather than in actual soil.
Drainage Failure
The standing water in the back corner had two causes. First, the grade sloped toward that corner from two directions, concentrating runoff in one spot. Second, the eavestrough on that side of the house discharged directly onto the lawn about eight feet from the corner, adding significant additional water volume during rain events. Years of that concentrated water on already-compacted clay had essentially waterlogged the soil to the point where it had no drainage capacity left at all.
Soil pH and Nutrients
I tested the soil pH across several areas. It ran between 5.8 and 6.2 in most spots — on the acidic side, which can suppress grass growth and favour weed species. The nutrient profile was depleted — no fertilizer had been applied in years and the thatch layer was pulling nitrogen out of the soil as it decomposed slowly rather than returning it.
All of this together explained exactly why the lawn looked the way it did. Every single thing that grass needs to grow — soil contact for seeds, air in the root zone, water penetration, nutrients, reasonable pH — had been compromised or eliminated. It wasn’t really surprising the lawn had failed. What was surprising was that anything green at all was still hanging on.
The Restoration — How We Approached It

A job this extensive needed to be done in the right sequence. Skipping steps or doing things out of order would mean spending time and money on work that didn’t stick.
Here’s the exact sequence we followed over three days:
Day 1: Drainage First
We started with the eavestrough problem. Ted agreed to have a downspout extension added that would redirect the water discharge away from the lawn and toward the property edge. That removed the main source of concentrated water input to the problem corner.
Then we regraded the back corner. We brought in topsoil and built the grade up to redirect water flow away from the corner toward the fence line where it could drain off the property. This required building up about four to six inches in the lowest spots. We compacted the fill in layers so it would settle evenly rather than creating a new low spot over the first season.
We also addressed the eavestrough channels near the house — filled them in, graded them smooth, and prepared them for topsoil and sod.
By end of Day 1 the drainage issues were corrected. The property wouldn’t see standing water in that corner again regardless of what we did with the lawn surface.
Day 2: Full Surface Removal and Soil Prep
Day 2 was the heavy work. We ran a sod cutter across the entire backyard and the front lawn — stripped everything down to bare soil. All of it went off the property. With thatch that thick, there was nothing worth leaving in place.
Then dethatching passes where the sod cutter had left residual material. Then tilling — we went four to six inches deep across the entire area with a commercial tiller, running two passes in different directions. You could see the difference immediately. What had been a hard, sealed surface became workable soil again for the first time in years.
We spread quality topsoil across the entire area — thicker in the spots where the grade corrections had left lower spots, thinner where the existing soil just needed amendment. Worked it in. Graded everything smooth with a final check for level and drainage direction.
Soil pH correction: we applied ground limestone across the areas that had tested low and worked it into the top few inches. It takes time to fully shift pH but getting it applied early gives it the most time to work.
Starter fertilizer went down last, worked lightly into the surface.
By end of Day 2 we had a prepared seedbed across the entire property. It looked like a construction site — bare soil, no grass, smooth grades. Ted came out to look and said it already looked better than it had in years. Just from the grade corrections and the clean surface.
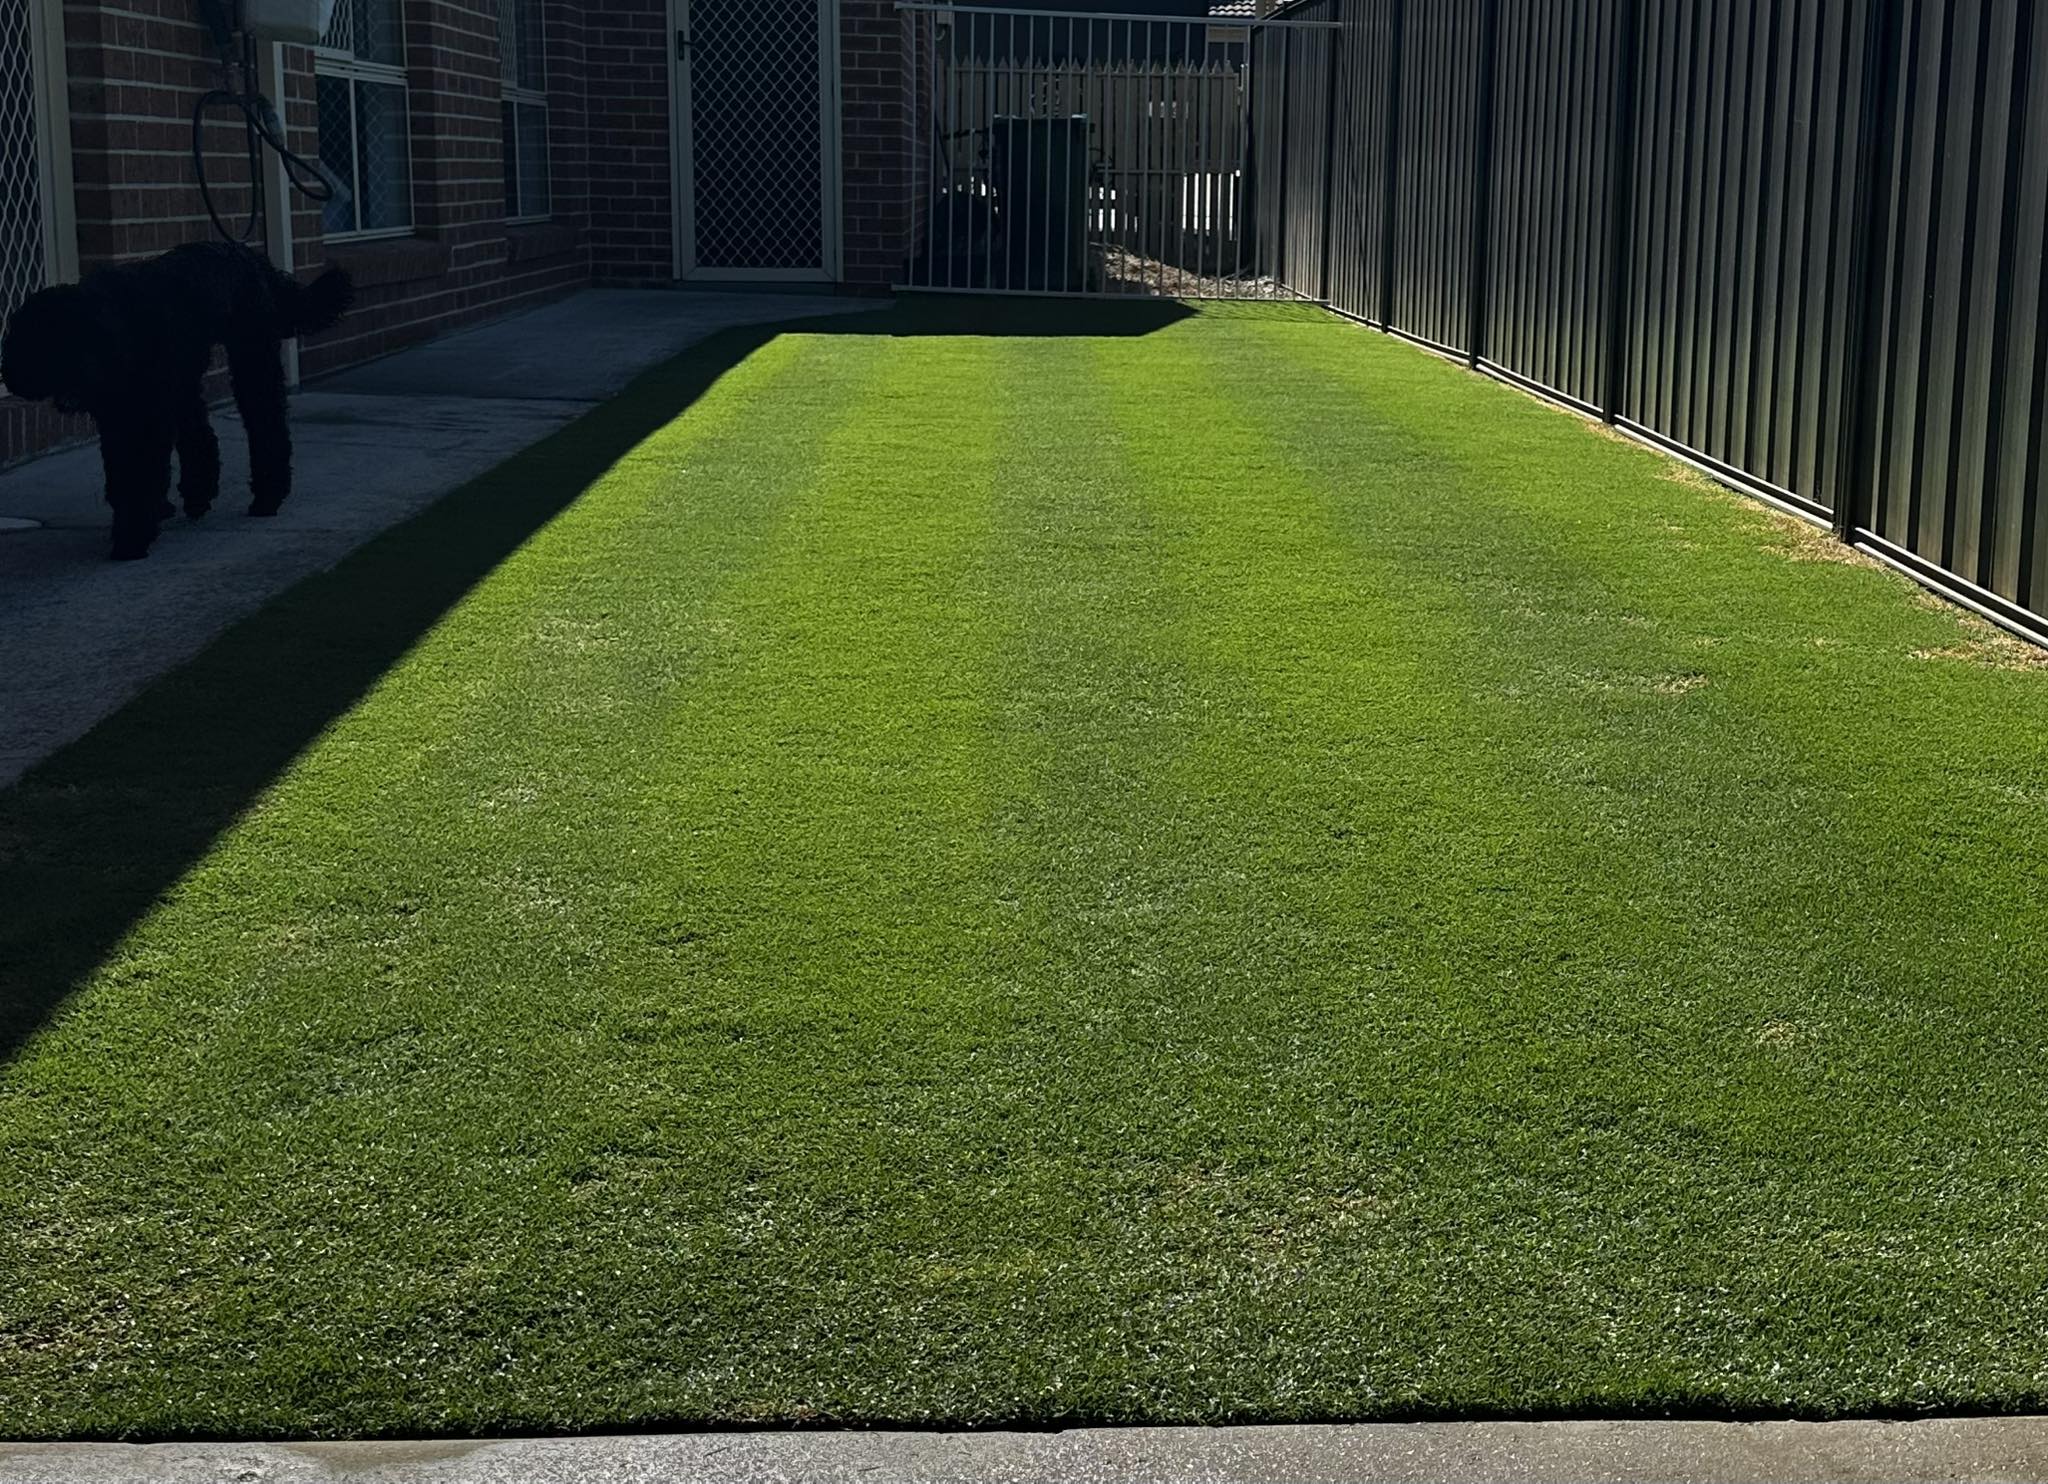
Day 3: Sod Installation
Fresh sod, delivered that morning. 2,400 square feet across front and back.
We started at the back — the largest and most complex area — and worked methodically. Staggered joints throughout. Tight seams everywhere. Extra care around the graded areas in the back corner to make sure the sod was pressed firmly into the contoured surface with no gaps or bridges.
The front went faster — simpler shape, easier access. By early afternoon the entire property was down.
We rolled the whole thing. Then I walked every seam on both the front and back, pressed down any edges that had lifted, and made sure the transitions between the sod sections and the existing driveway and garden bed edges were clean.
Then I sat down with Ted and went through the watering schedule in detail. A job this size, on soil that had been that compacted and depleted for that long, needed careful watering management in the first three weeks. Twice daily for the first week. Once daily deep watering for weeks two and three. Consistent, without gaps.
Ted’s son lived nearby and had agreed to help with the watering. Between the two of them they had it covered.
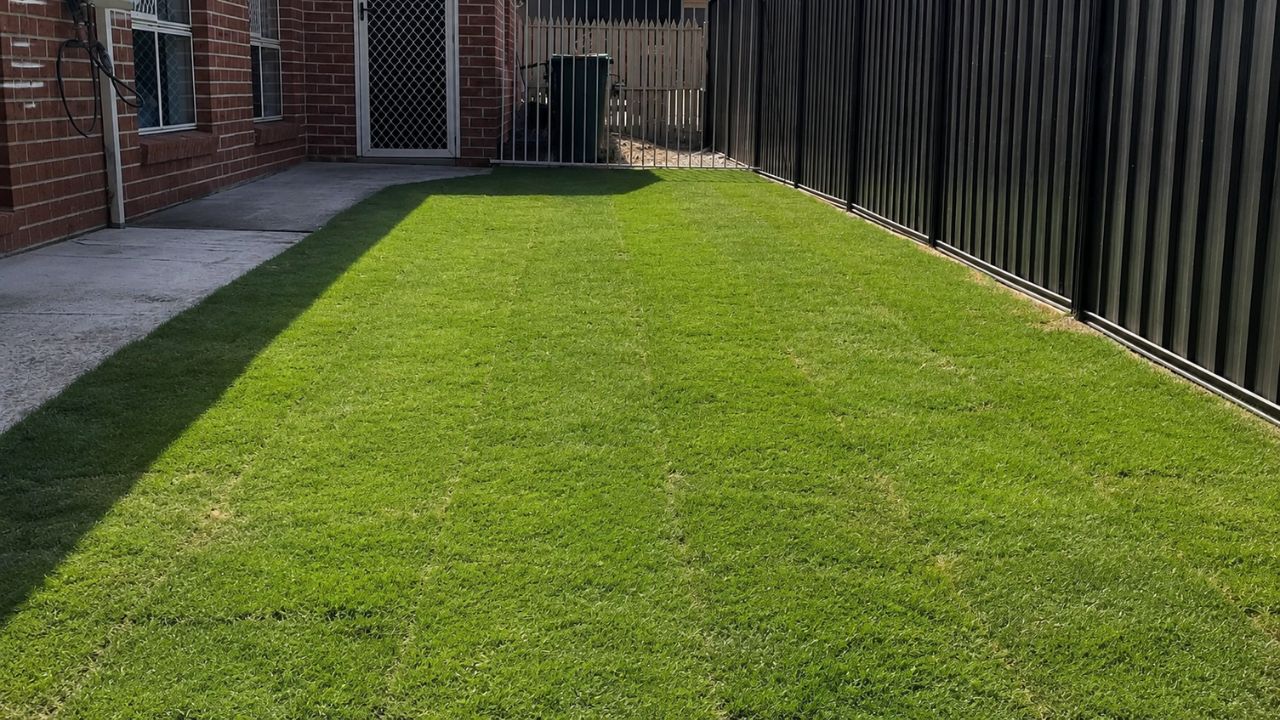
What It Looks Like Now
Ted’s son sent me photos three weeks after installation. The sod had rooted in well across the entire property. The back corner — the one that had held standing water for years — was green and growing like the rest of the lawn. The ruts along the fence line were gone. The eavestrough channels were healed over.
He texted me a photo in September from the same angle as one he’d taken before we started. The difference was the kind that makes you stop and look twice.
Ted called me himself a few weeks after that. He told me he’d been sitting on his back porch every morning with his coffee looking at the lawn. He said he hadn’t been able to sit out there in years because looking at the yard made him feel bad about himself.
That one hit me. That’s the part of this work that doesn’t show up in before-and-after photos — what it means to someone to have their property look like a place they want to be again.
The lawn goes into its first winter in solid condition. Roots established well before freeze-up, pH correction has had time to work, drainage is properly managed. It’ll come out of spring in good shape and with one season of normal maintenance behind it, it’ll look like it’s always been that way.
What This Kind of Job Actually Costs — And Why It’s Worth It
I want to address this directly because a full restoration on a 2,400 square foot property with drainage corrections is not a small number. It’s a meaningful investment.
But here’s the way I think about it. Ted had been living with that lawn for years. He’d tried seed multiple times over that period — which cost money and produced nothing. He’d had one smaller company come out and do some surface work a few years earlier that also produced nothing, because they hadn’t addressed the underlying problems. All of that money was spent, nothing improved, and the lawn kept getting worse.
One proper job, done right, addressing every actual cause of the problem. That’s what fixed it. And that lawn, properly maintained from here, should look good indefinitely.
Sometimes the expensive solution is actually the cheaper one when you account for all the money spent on things that didn’t work.
Is Your Lawn in Rough Shape?
If you’re looking at a lawn that’s been declining for years and you’ve stopped knowing where to even start — reach out. I’ll come out, do a proper assessment, and give you an honest picture of what’s actually going on and what a real fix would involve.
No judgment about how it got to where it is. Every lawn is fixable. Some just take more work than others.
📞 Call or text me: 705-507-6787
Or fill out the free quote form here — I get back to everyone same day.
— Ryan Lingenfelter
Owner, Cutting Edge Lawn & Landscaping
Garson, Ontario
Related Articles
- I Replaced a Sudbury Homeowner’s Dead Lawn in 4 Days
- I Said No to a Lawn Job in Val Caron — Six Weeks Later They Called Me Back
- A Chelmsford Homeowner Asked Me Why His Grass Never Grows in That One Spot
- Sod Installation in Greater Sudbury
- Core Aeration Services in Sudbury
