
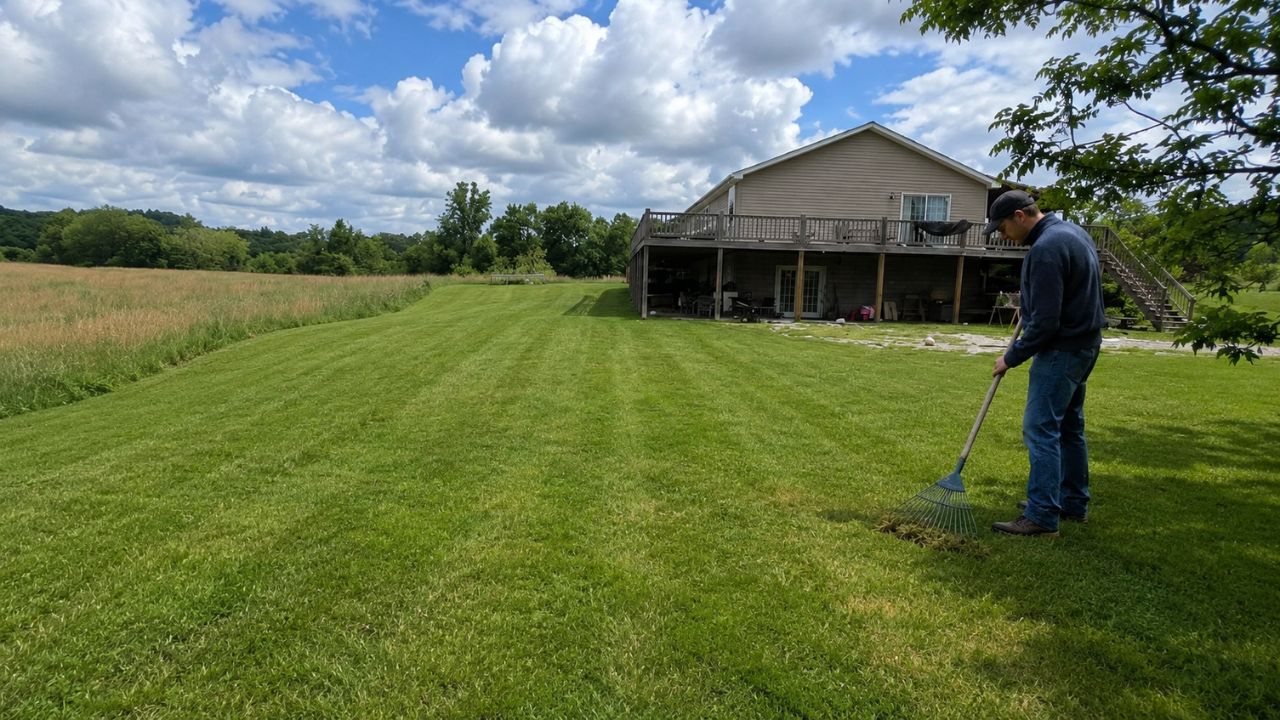
I’m Ryan Lingenfelter, owner of Cutting Edge Lawn & Landscaping in Garson, Ontario. I’ve been doing this since 2020 — working on residential and commercial properties all across Greater Sudbury, from Hanmer to Lively to Chelmsford.
And in those years, I’ve seen a lot of dead lawns.
But the one I want to tell you about today? It was bad. Like, genuinely beyond saving bad. And the homeowner — a family in Val Caron — had been looking at it for two full summers hoping it would somehow bounce back.
It didn’t. It never does when it gets to that point.
So they called me. And in 4 days, that lawn was completely transformed. Green, thick, and growing.
Here’s exactly how we did it — step by step.
Why the Lawn Was Dead in the First Place
Before we even talk about the fix, I always want to understand why the lawn died. Because if you don’t fix the root cause, you’ll be back in the same position two years from now.
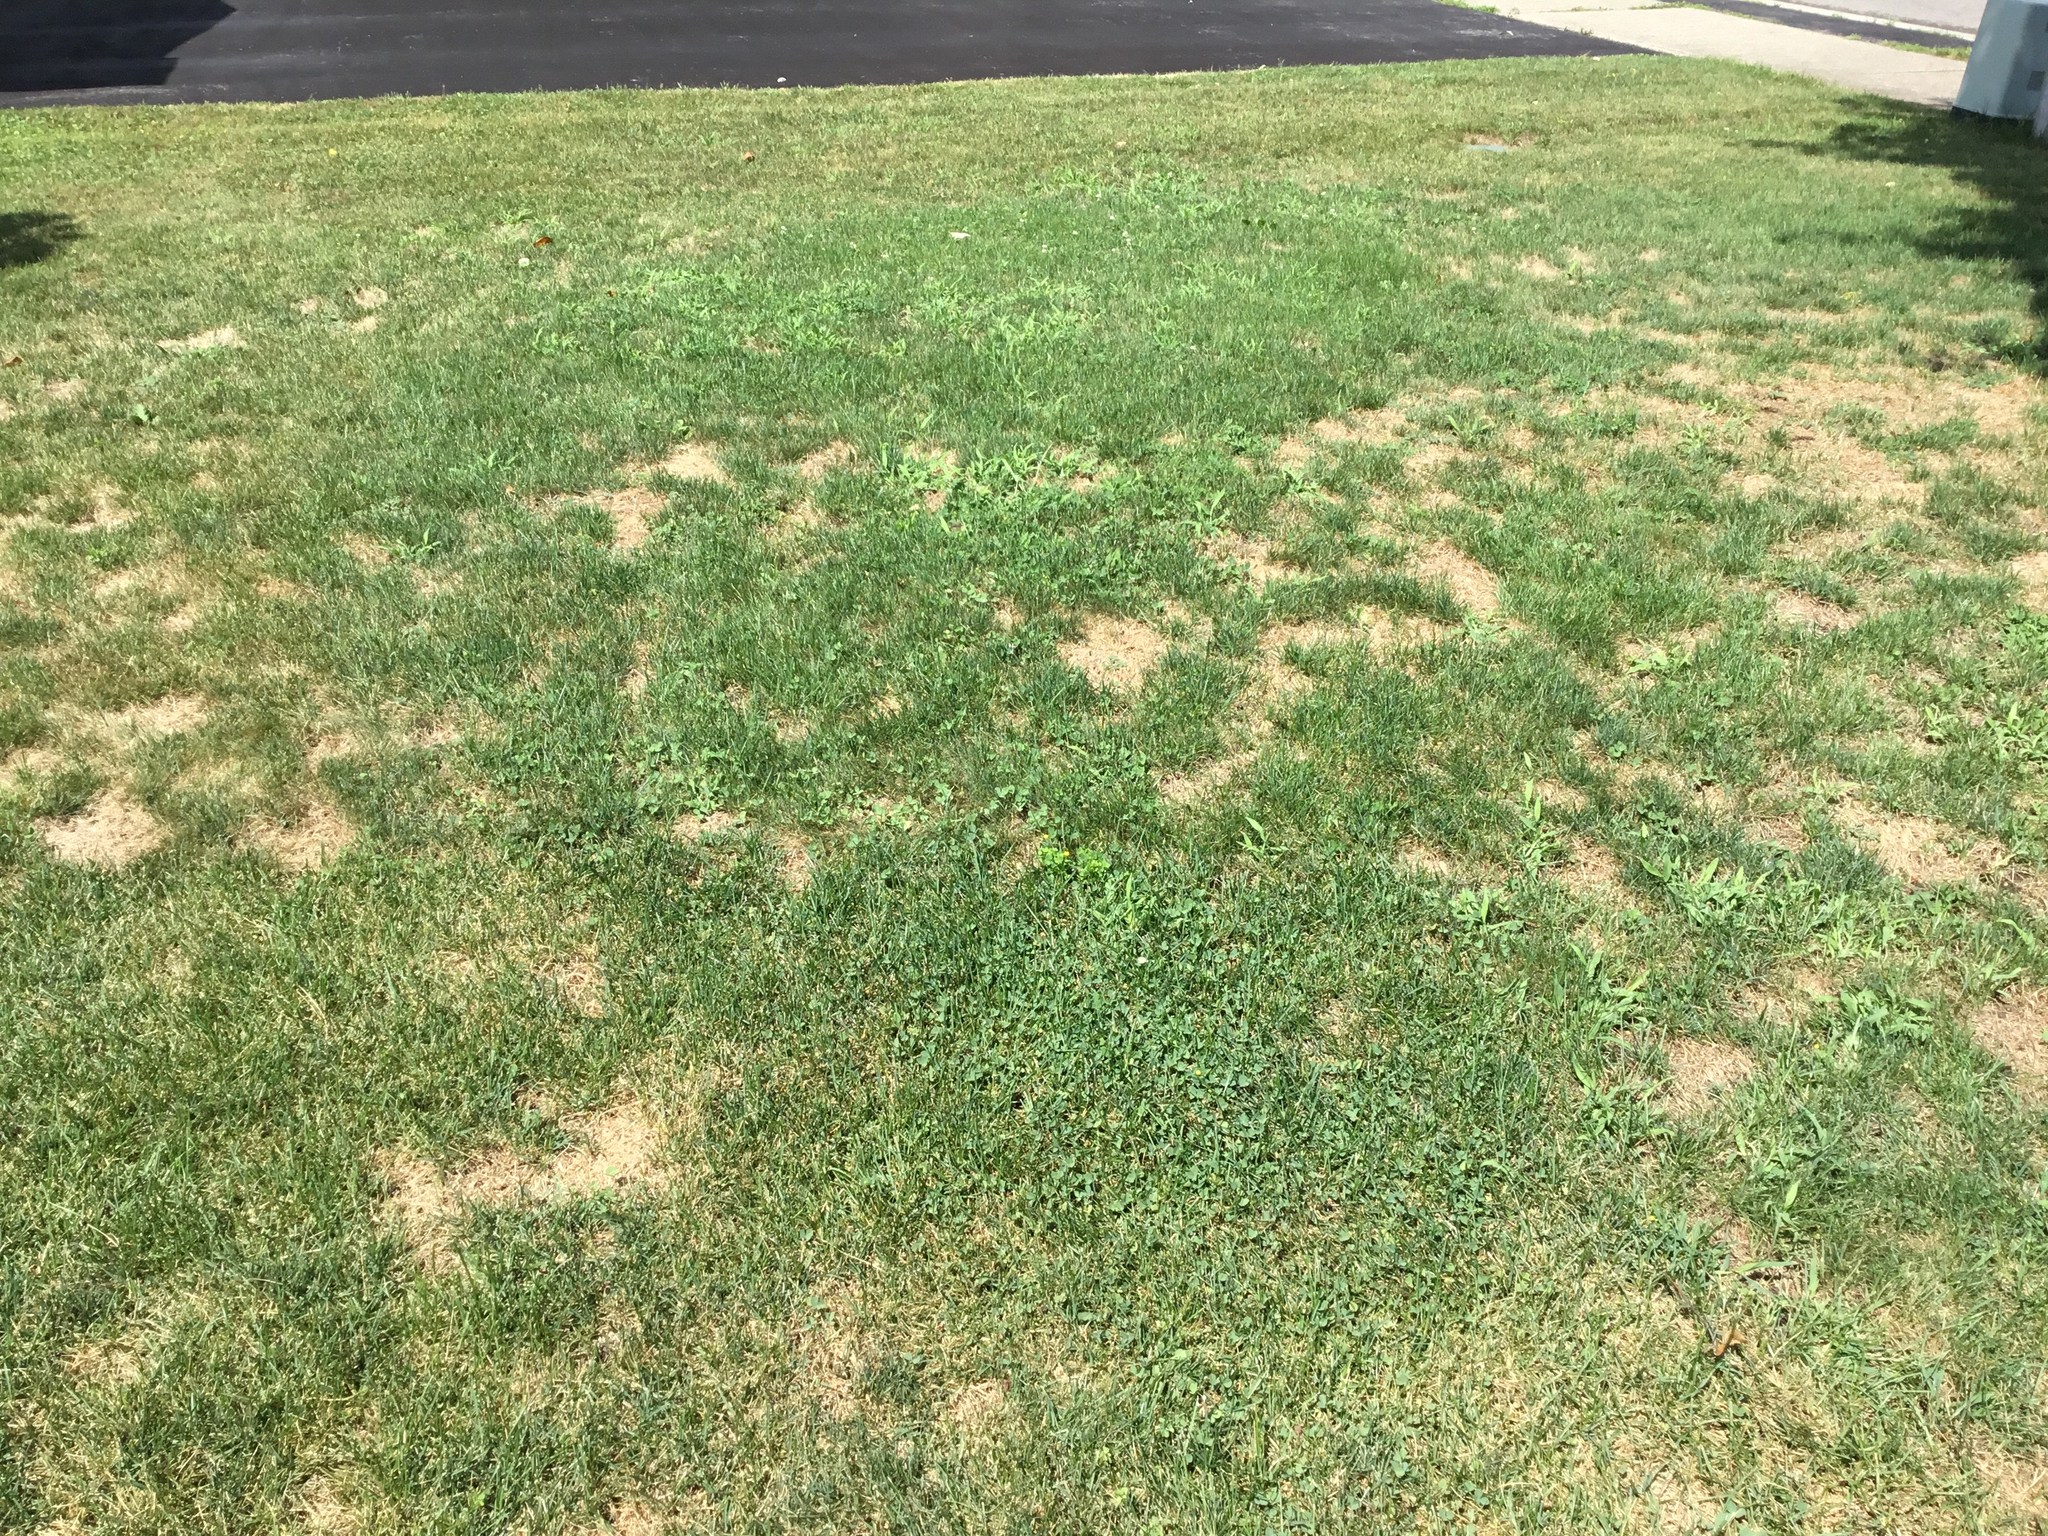
In this case, there were three things going on:
- Heavy clay soil — super common in Sudbury. Water just sits on top instead of draining through. Roots suffocate.
- Zero aeration in years — the soil had compacted to the point where grass couldn’t establish itself even if seed was thrown down.
- Grub damage from the previous fall — when you see patches of lawn that pull up like a loose carpet, that’s usually grubs eating the roots underneath.
Together, these three things had basically destroyed any chance of natural recovery. Overseeding would have been a waste of money here. Sod was the right call — and the only real call.
Day 1: Assessment and Full Removal
I showed up early on a Tuesday morning. The homeowner had already cleared the area of any furniture or obstacles, which honestly saves a lot of time — I appreciate when clients do that.
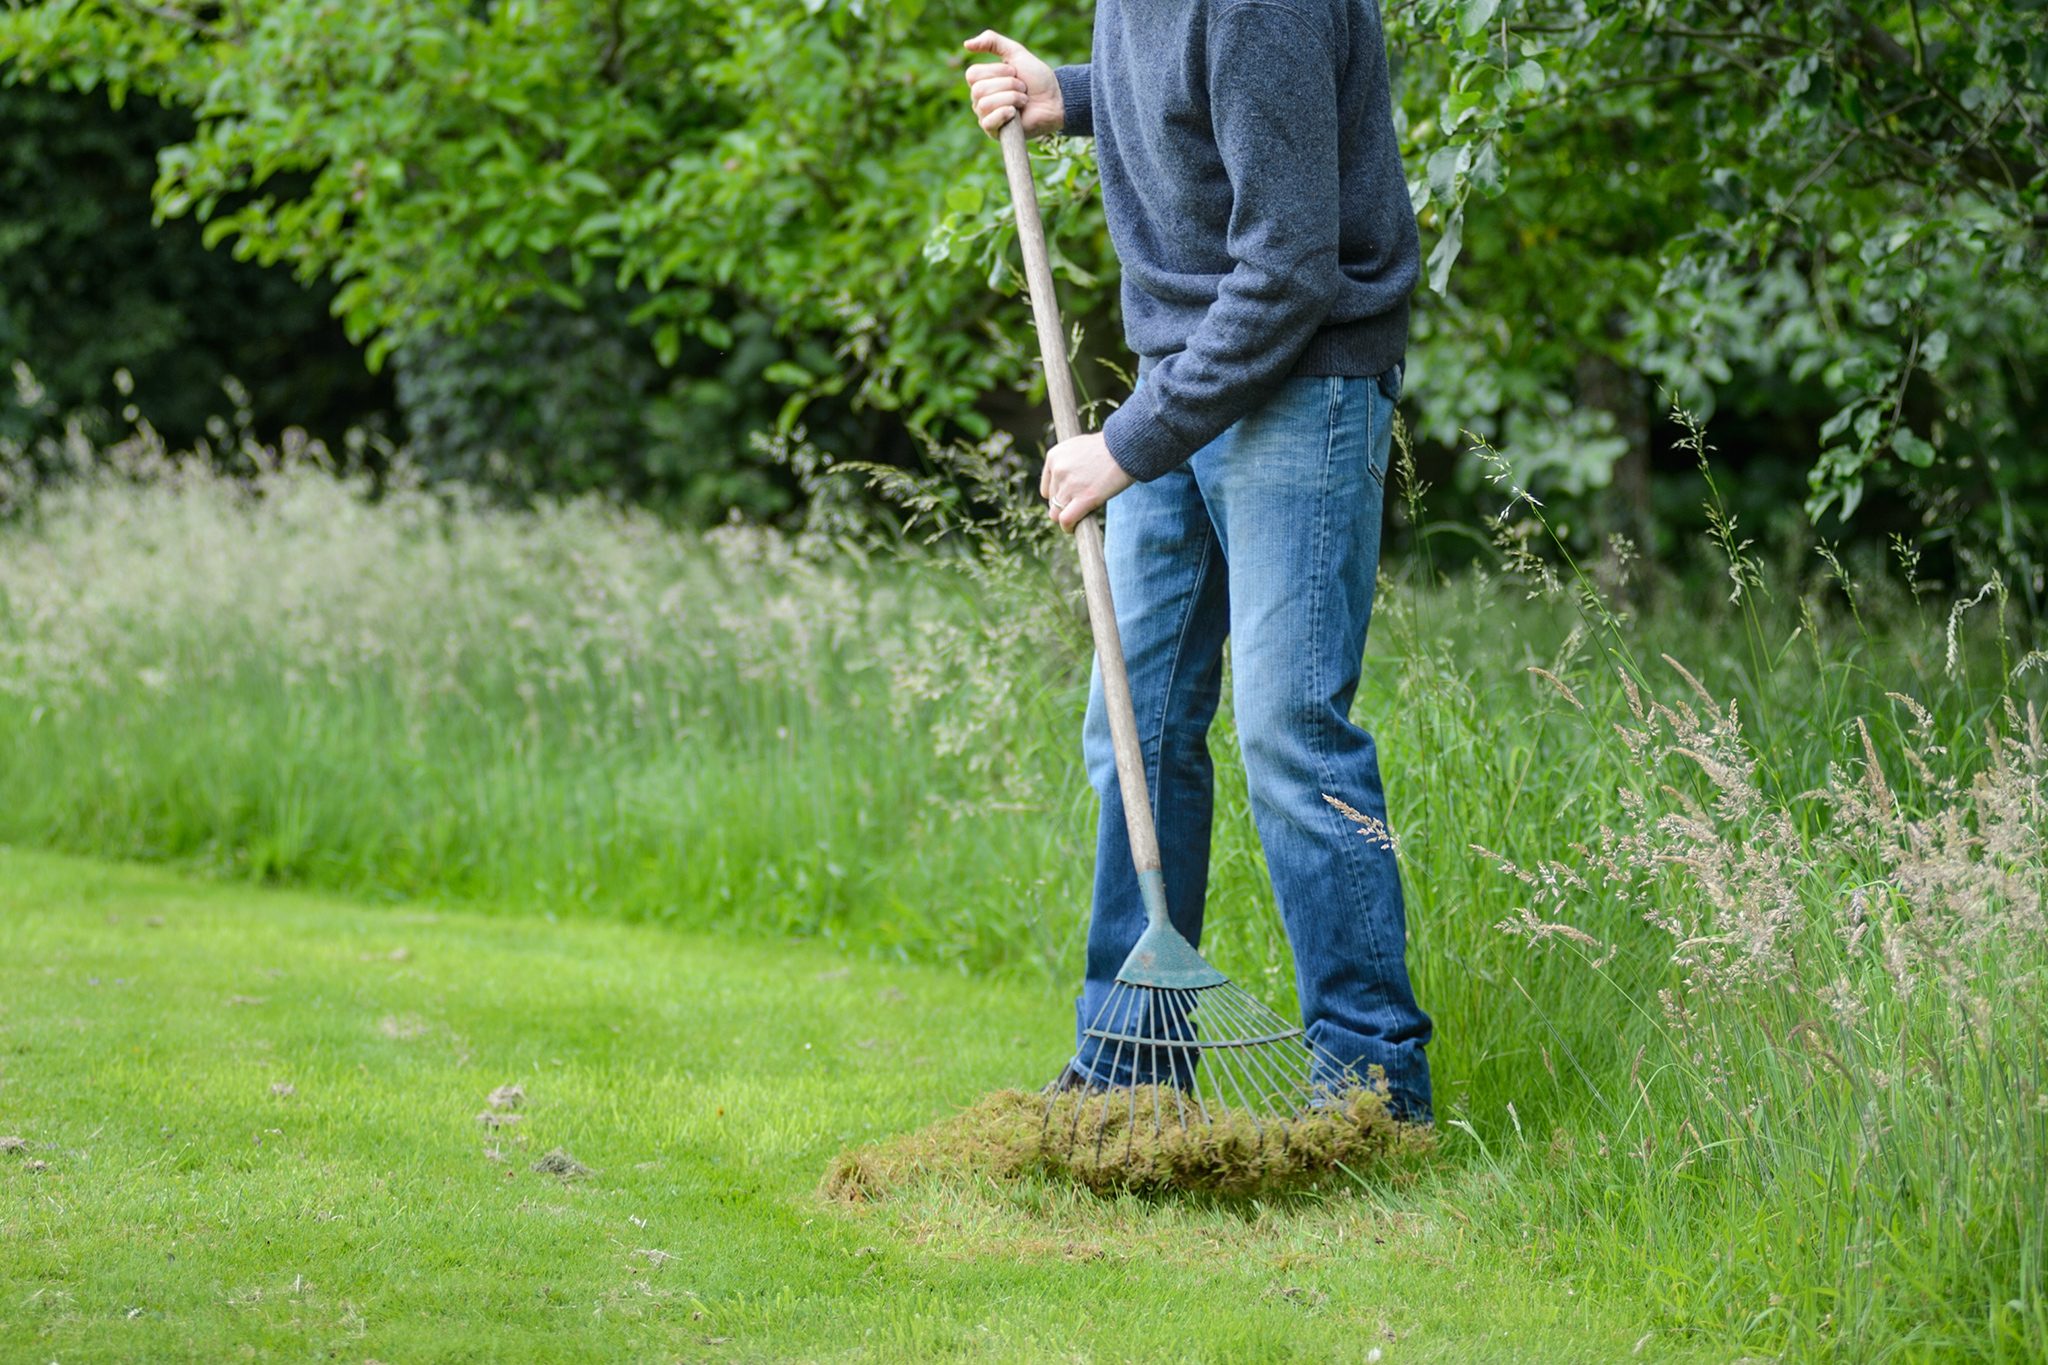
First thing I did was walk the entire lawn. I was looking at:
- How much area we were dealing with (it was about 1,800 square feet)
- Soil condition and drainage patterns
- Any low spots or uneven sections that would need grading
- Proximity to garden beds, fences, and the driveway edge
Then we got into the removal. The dead grass and thatch had to go — all of it. I use a sod cutter for this, which makes clean, consistent cuts and gets the job done fast. We stripped the entire area down to bare soil.
All the removed material gets hauled off the property. You don’t want to leave it piled in the corner — it’s a mess and it creates problems later.
By end of Day 1, we had a clean slate. Bare earth, ready for prep.
Day 2: Soil Prep — The Step Most People Skip
This is the step that separates a lawn that lasts from a lawn that dies again in two years.
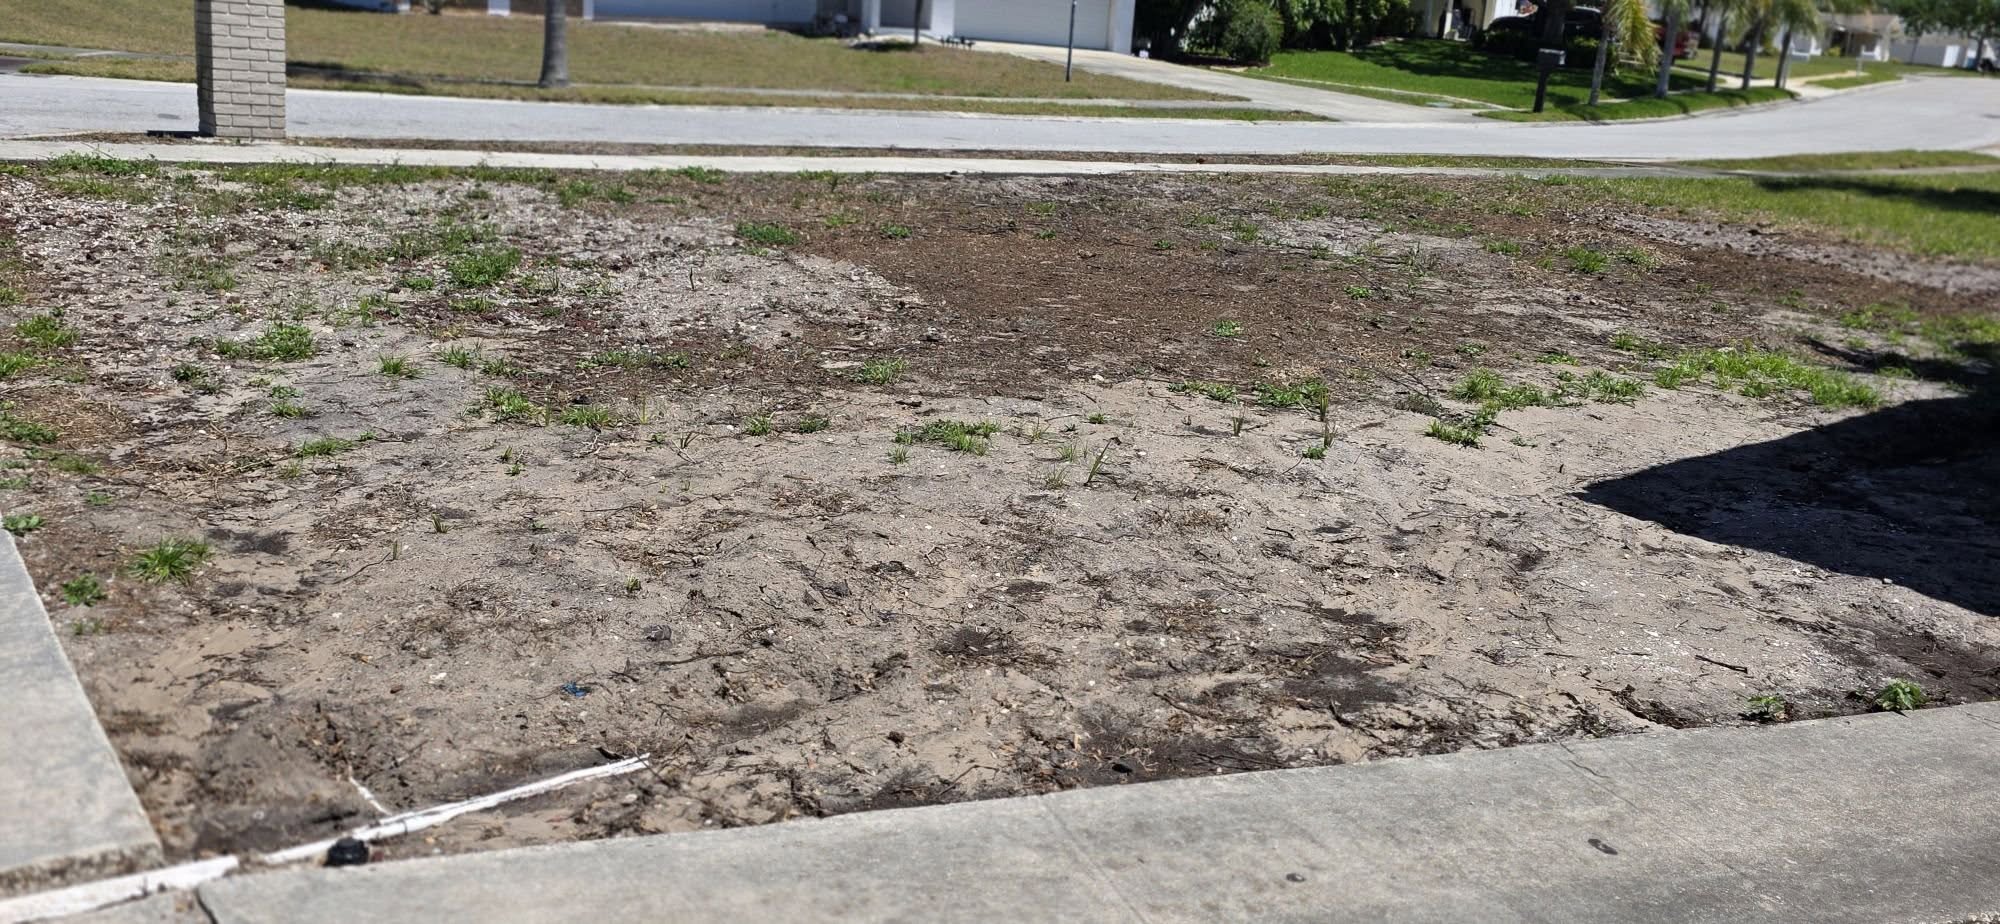
Most people — and honestly, even some lawn companies — want to rush right to laying the sod. I get it. It’s satisfying to see the green go down. But if your soil is in bad shape, that sod is going to struggle.
Here’s what we did on Day 2:
Tilling
We tilled the top 4–6 inches of soil to break up that compaction. This is critical for root establishment. Sod needs to be able to send roots down quickly — within the first 2 weeks ideally — and it can’t do that in concrete-like soil.
Topsoil and Amendments
Because of the clay issue, we brought in quality topsoil and mixed it into the existing base. This improves drainage and gives the roots a better environment to grow into.
Grading
Any low spots get filled in and levelled off. This is important for two reasons — drainage and appearance. You don’t want water pooling near the foundation, and you don’t want a bumpy lawn that’s a nightmare to mow.
Starter Fertilizer
Before the sod goes down, we apply a starter fertilizer worked into the top layer of soil. This gives the roots immediate access to nutrients the moment they start establishing.
By end of Day 2, the soil was prepped, graded, and ready. It honestly looked better already — just from good soil work.
Day 3: Sod Installation
This is the satisfying part. This is when it all comes together.
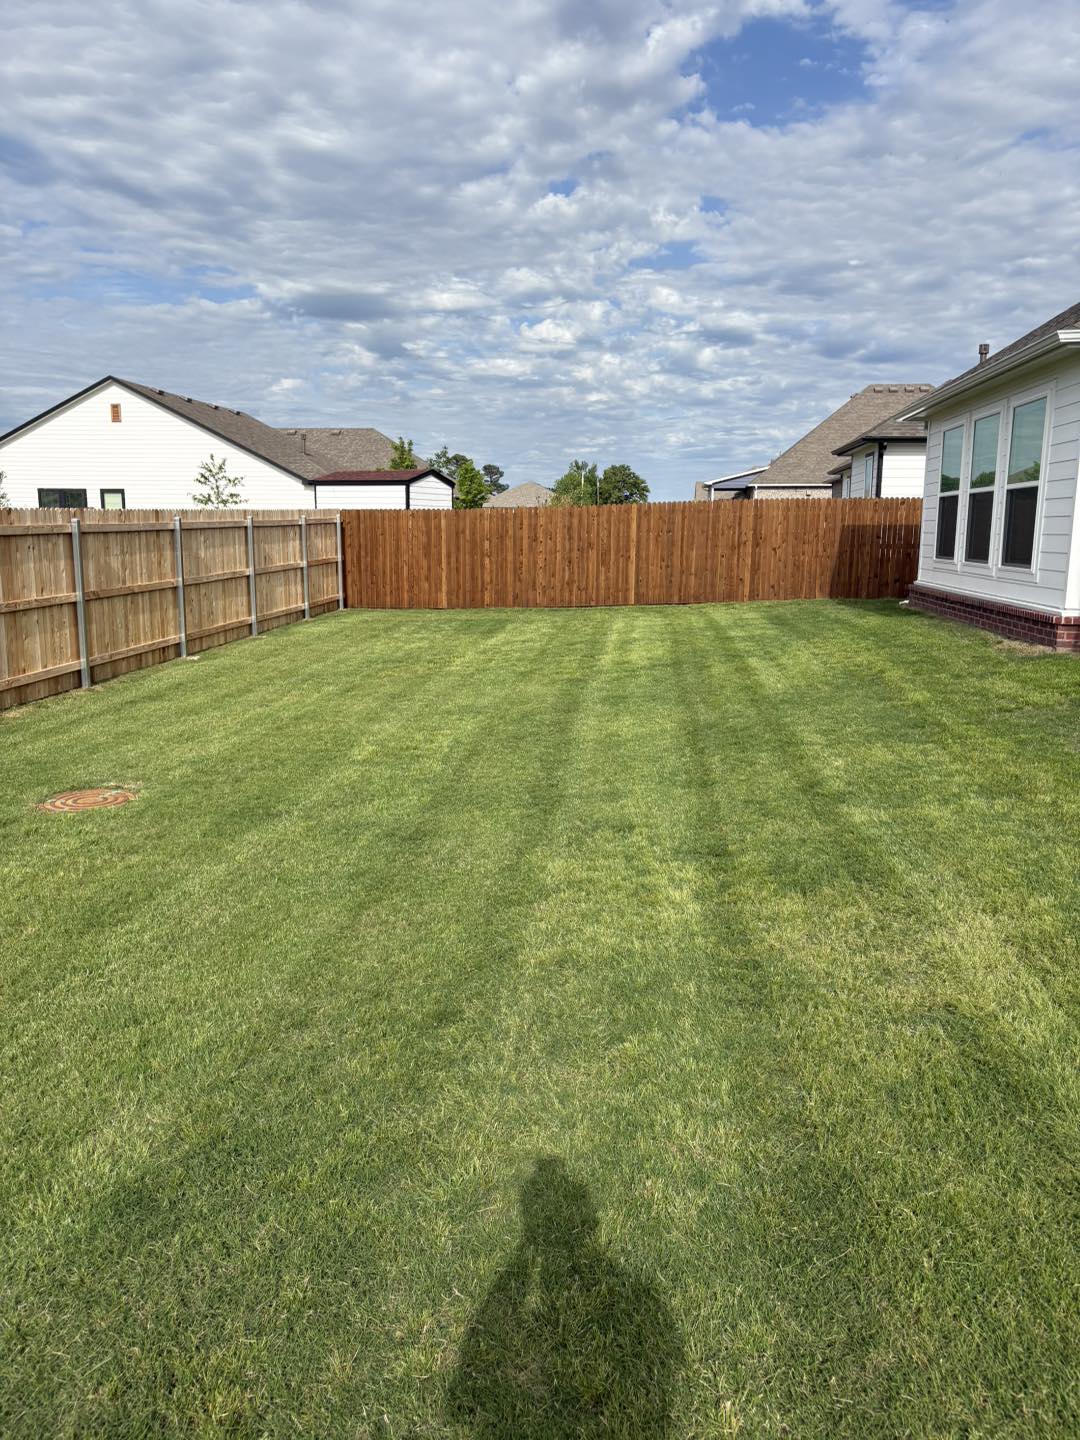
We had the sod delivered that morning — fresh cut, still moist, good colour. You always want to work with fresh sod. I’ve written about how long sod can survive after delivery, and the answer is: not long if you’re not careful. Same-day or next-day installation is always the goal.
Here’s how the installation goes:
Starting Line
We always start along the straightest edge — usually a driveway, sidewalk, or fence line. This gives you a clean reference point and the rest of the lawn gets laid off that first row.
Staggered Joints
Just like laying bricks, you never line up the seams. Each row is offset by half a roll so the joints are staggered. This helps the lawn knit together and makes seams virtually invisible once it fills in.
Tight Edges
Every piece gets pressed firmly against the next. No gaps. Gaps dry out and create dead strips — and they look terrible. A good sod job has tight, clean seams throughout.
Cutting Around Edges
Garden beds, downspouts, curved edges — everything gets cut clean with a sharp knife. Taking the time to do this properly makes a huge difference in the final appearance.
Rolling
Once all the sod is down, we run a lawn roller over the entire area. This presses the sod roots into firm contact with the soil underneath. Contact is everything in the first few days — you need those roots touching the soil to start pulling moisture.
By end of Day 3, the lawn was completely down. 1,800 square feet of fresh, green sod. The homeowner came out and just stood there for a minute. That reaction never gets old.
Day 4: Final Inspection, Edging, and Watering Setup
Day 4 is about making sure everything is right before I hand the lawn back to the homeowner.
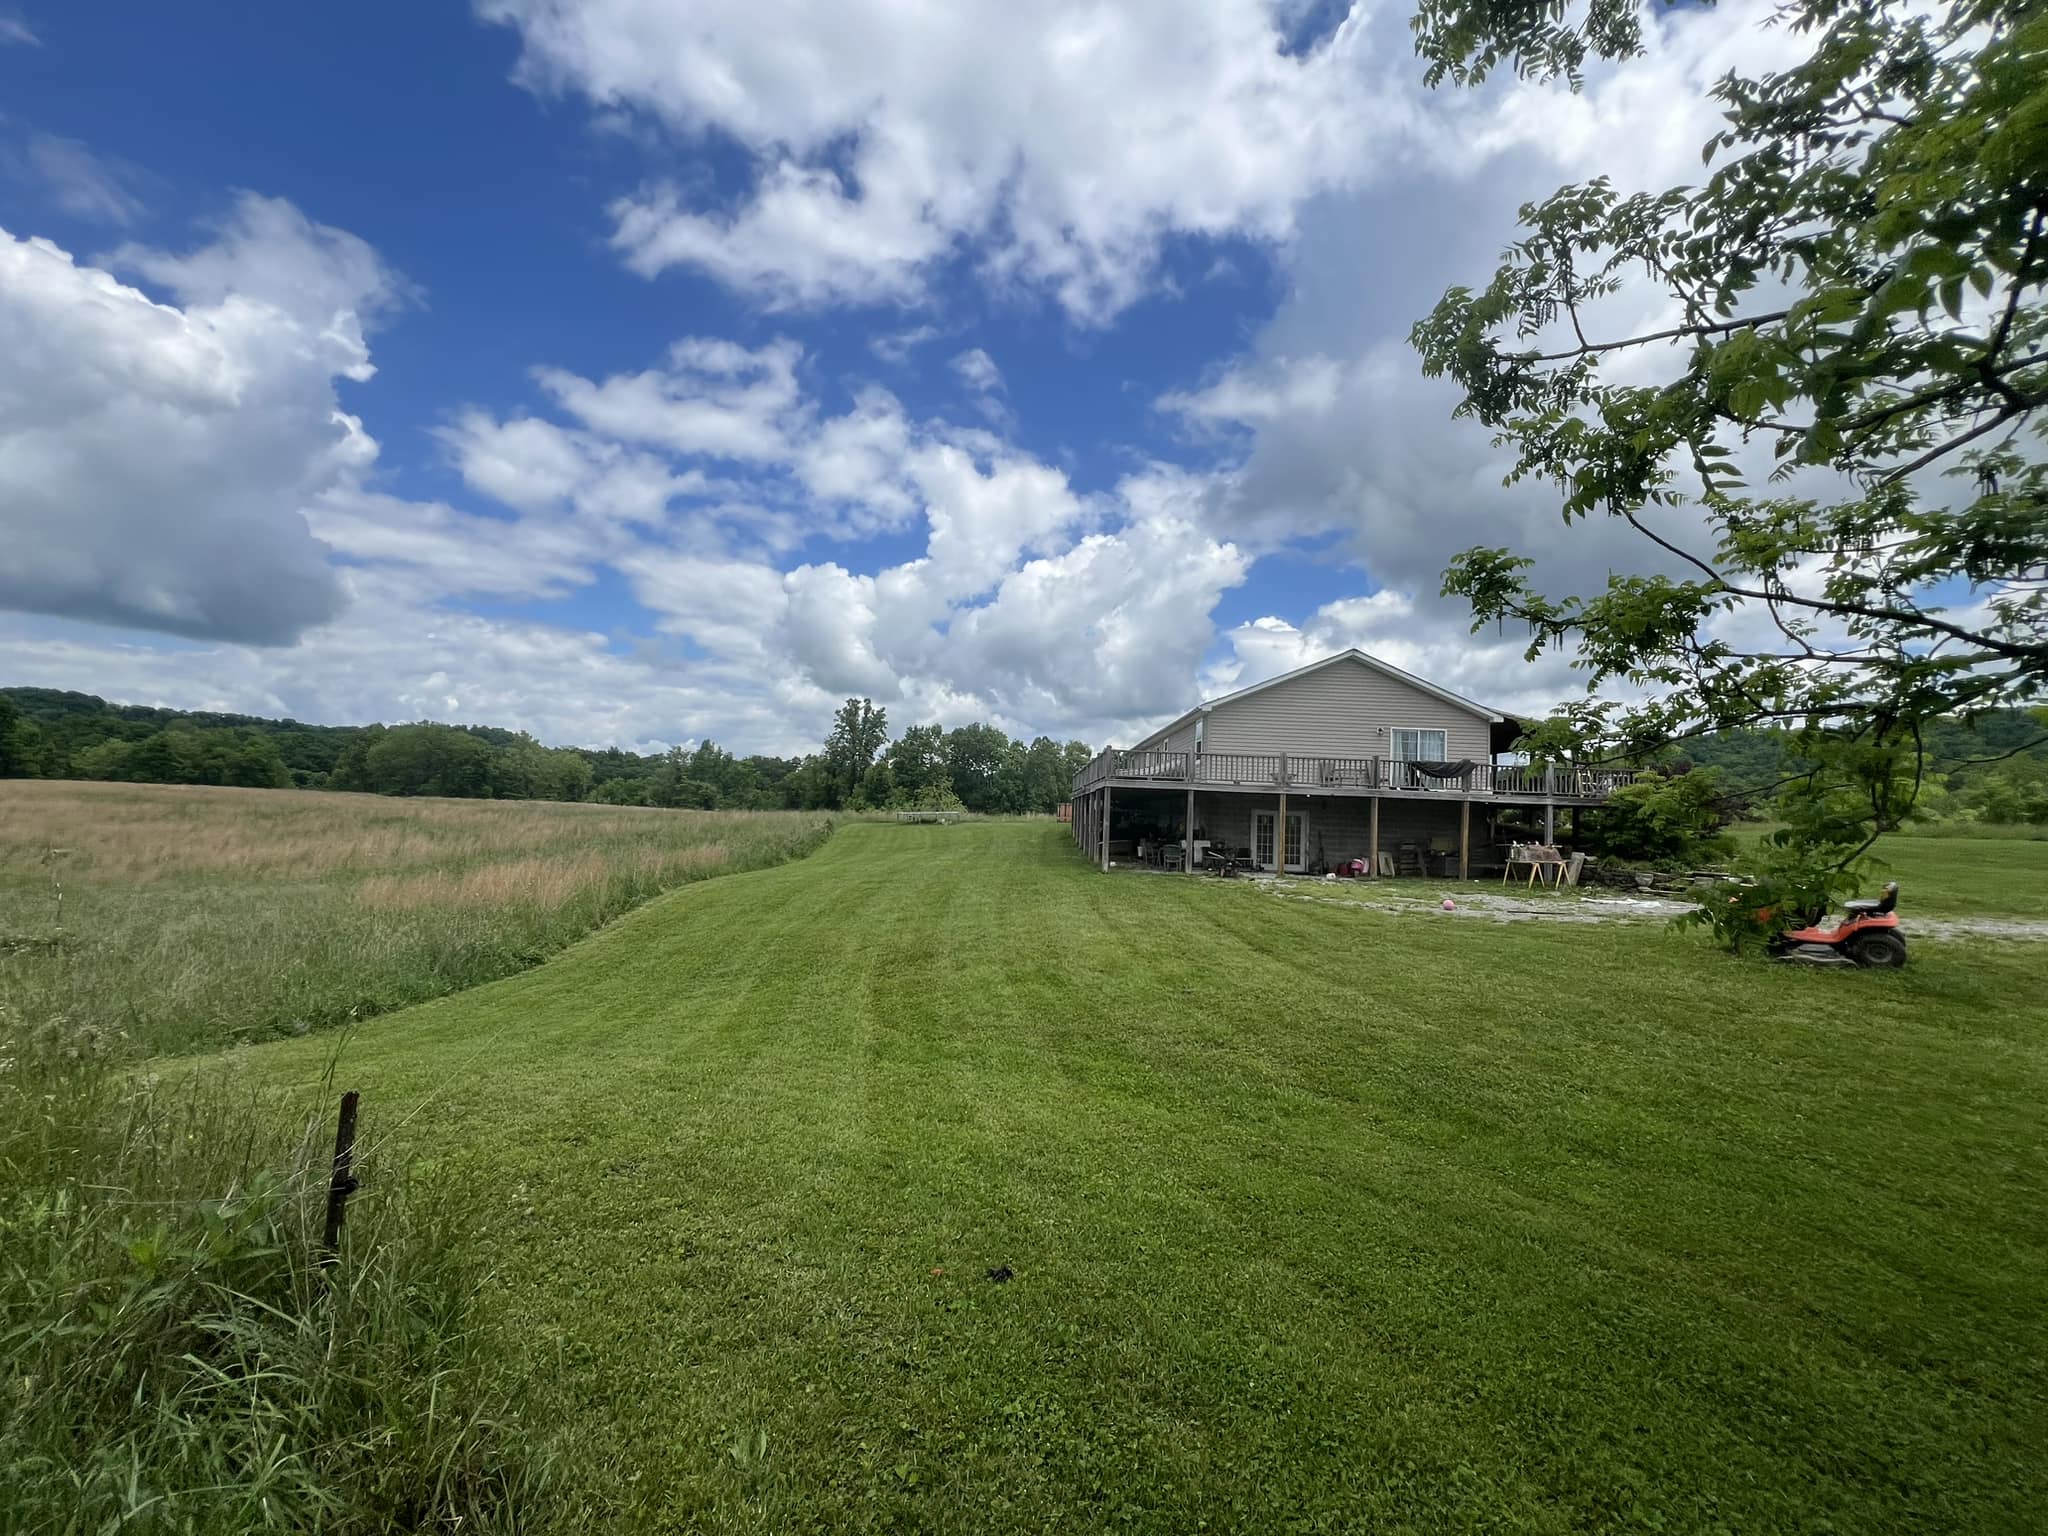
I walked the entire perimeter and checked every seam, every edge, every cut. A couple of spots near the fence line needed a small adjustment — that’s normal. Better to catch it now than after it’s established.
We also did the final clean edging around the garden beds and driveway. Sharp, clean lines. That’s what makes a lawn look professionally done versus a DIY job.
Then I sat down with the homeowner and went through the watering schedule — because this is where a lot of people lose their new lawn.
The Watering Schedule I Give Every Client
New sod is not the same as an established lawn. It cannot survive on rainfall alone for the first few weeks. Here’s what I tell every single homeowner after an install:
- Days 1–7: Water twice daily — morning and late afternoon. You want the soil consistently moist 2–3 inches deep. Don’t let it dry out. Don’t puddle it either.
- Days 8–14: Pull back to once daily, deep watering. You’re now encouraging the roots to go deeper to find moisture.
- Days 15–21: Every other day. The sod should be starting to root in well by now — you can gently tug a corner to check. If it resists, roots are taking hold.
- Week 4 onwards: Normal watering schedule. Treat it like an established lawn.
And the first mow? Wait until the grass reaches about 3.5 inches. Don’t mow too early — you’ll pull the sod right up before the roots have anchored properly.
What the Lawn Looked Like 3 Weeks Later
The homeowner sent me a photo three weeks after installation. Honestly, it looked incredible. Thick, even, deep green. You couldn’t tell where the old dead lawn used to be.
That’s what proper soil prep and quality sod does. It’s not magic — it’s just doing the job right from the start.
The family has kids who play outside. The whole reason they wanted this done was so they’d actually have a yard to use this summer. And now they do.
That’s why I do this work.
Is Your Sudbury Lawn in the Same Situation?
If you’re looking at a lawn right now that’s patchy, dead, or just never seemed to recover from last winter — don’t keep waiting on it. Some lawns can be overseeded and brought back. Others are past that point and sod is the only real solution.
I’ll come out, take a look, and give you an honest answer about what makes sense for your property. No pressure, no upselling. Just a straight answer from someone who’s done this for years across Greater Sudbury.
📞 Call or text me directly: 705-507-6787
Or fill out the free quote form here and I’ll get back to you same day.
— Ryan Lingenfelter
Owner, Cutting Edge Lawn & Landscaping
Garson, Ontario
Related Articles
- How Long Can Sod Survive After Delivery in Sudbury?
- How Long Can Sod Stay Outside Without Soil in Sudbury?
- Sod Installation Services in Greater Sudbury
- Core Aeration Services in Sudbury
