This question comes up almost every time I quote a lawn that’s in mixed condition — some sections healthy, some sections dead, and the homeowner standing there asking the obvious question.
“Can we just sod the bad parts and seed the rest? Do we really need to do the whole thing the same way?”
It’s a smart question, and the honest answer is: yes, you can mix sod and seed on the same Sudbury property, and I do it regularly. But there’s a right way to do it and a handful of ways people get it wrong that end up costing more than just picking one approach.
I’m Ryan Lingenfelter, owner of Cutting Edge Lawn & Landscaping in Garson, Ontario. Since 2020, I’ve worked on properties across Greater Sudbury — Garson, Val Caron, Hanmer, Lively, Chelmsford, Azilda, Capreol — where the right answer for one section of a lawn was different from the right answer for another section of the same property. Here’s exactly how mixing the two actually plays out.
Why Mixing Sod and Seed Is Often the Right Call
The reason I recommend a mixed approach as often as I do comes down to one simple principle: different sections of the same property frequently have different levels of damage, and treating them the same way wastes either money or time.
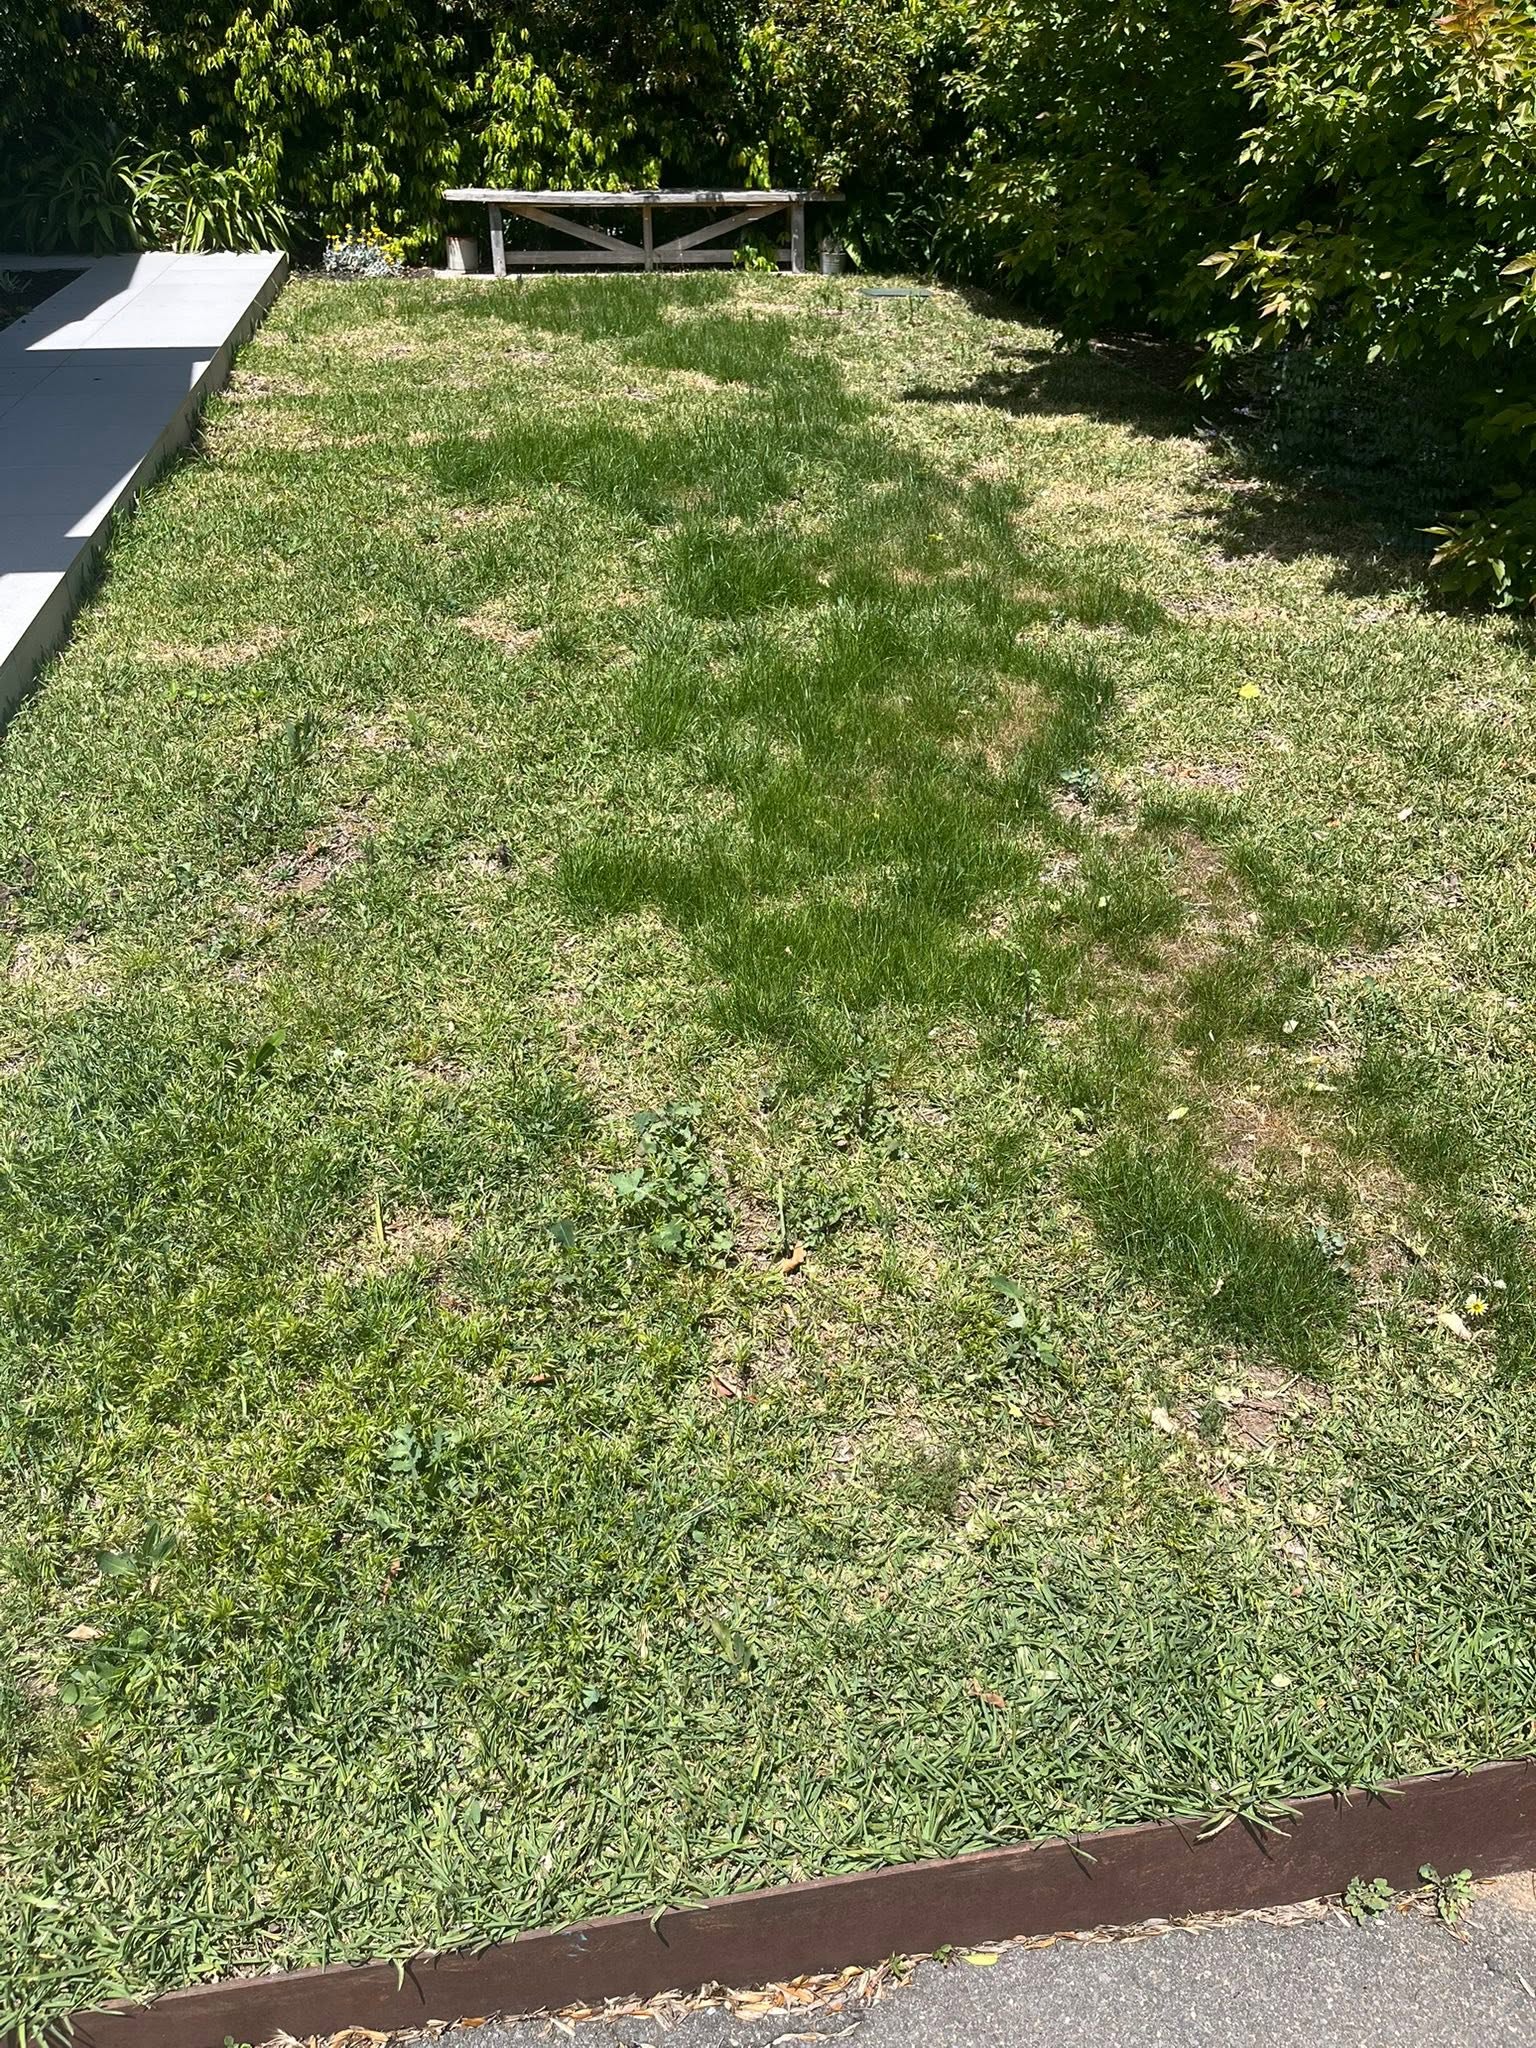
Think about a typical Sudbury property where I’ve done a restoration. The front yard might still have 70 percent live grass — thin in spots from compaction, but a real base to work with. The back corner near the fence might be completely dead from a drainage problem that’s been pooling water there for two seasons. Sodding the entire property because one corner is bad means paying full sod price for areas that didn’t need it. Seeding the entire property because most of it is salvageable means watching that dead corner try and fail to establish from seed because there’s no living turf base there to begin with.
The right call is sod where the grass is mostly or completely gone, and overseeding where there’s still a healthy base to build on. I covered the decision criteria for each individually in the sod vs seed comparison guide here — mixing the two on one property is simply applying that same logic section by section instead of treating the whole lawn as one decision.
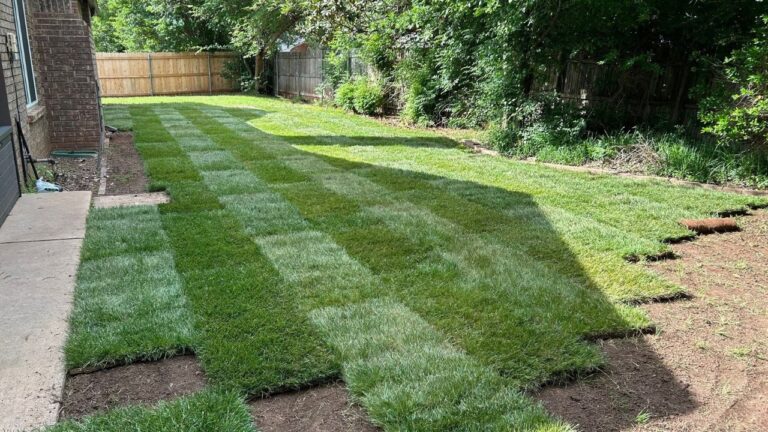
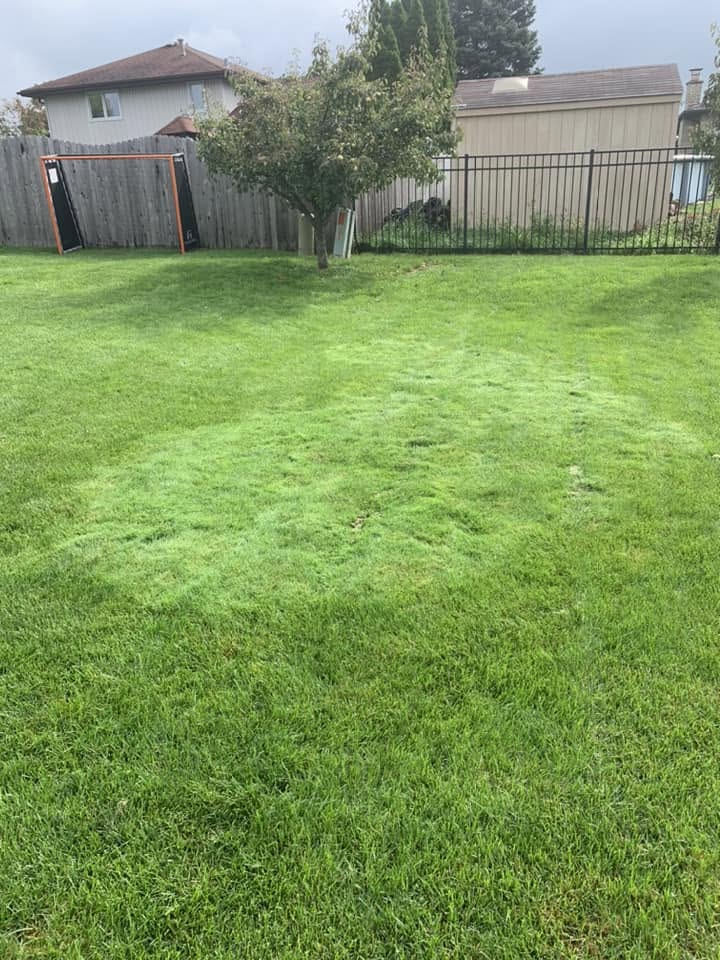
On a property in Val Caron last season, we sodded a roughly 200 square foot section that had been completely killed by grub damage, and overseeded the remaining 1,800 square feet that still had reasonable grass coverage after core aeration. The cost was a fraction of full sod for the whole property, and the result by August was a uniform lawn — you genuinely couldn’t tell where the sodded section ended and the overseeded section began.
The Technical Challenge — Getting the Transition Right
Here’s where the execution actually matters. The line between a sodded section and a seeded section is the part most DIY attempts get wrong, and it’s the difference between a seamless result and an obvious patch job.
Soil height has to match. Sod sits on top of the soil at roughly the thickness of the sod itself — typically half an inch to an inch of root mat and soil layer. If you lay sod at the existing grade without accounting for that thickness, the sodded section ends up sitting higher than the surrounding seeded or established lawn. You end up with a visible ridge at the transition line that’s both unsightly and a tripping hazard along walkways.
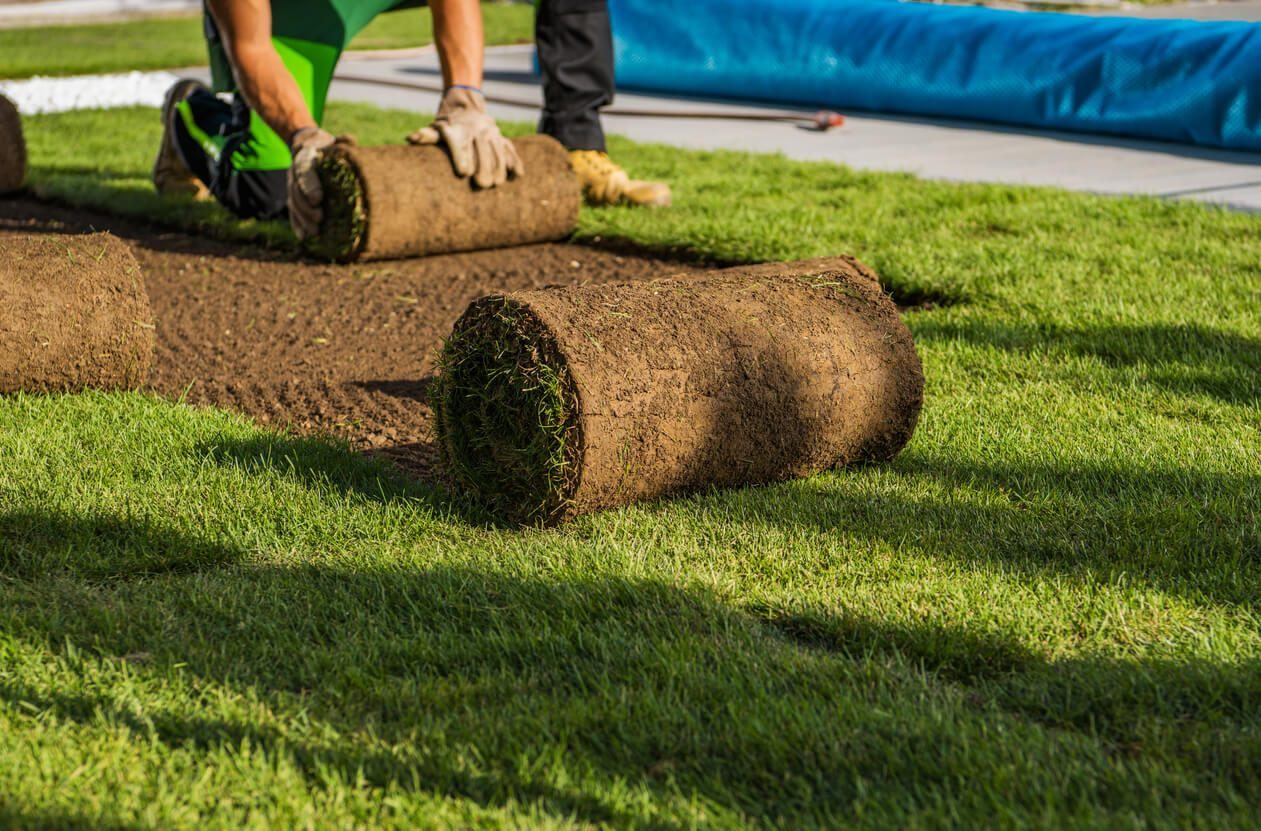
The fix is excavating the sod area slightly lower than the surrounding grade before installation — accounting for the thickness of the sod itself so the finished surface sits level with the established or seeded lawn around it. This is a step I see skipped constantly on DIY attempts, and it’s the single biggest reason a mixed sod-and-seed job looks like two different projects instead of one lawn.
Timing has to align. Sod establishes and looks “finished” within 30 days. Seed takes 6 to 12 weeks to look like a real lawn. If you sod one section and seed another at the same time, you’ll have a period where one part of your lawn looks great and the other looks like bare dirt with sprouts. This is normal and temporary, but it’s worth knowing in advance so you’re not surprised or worried that the seeded section is failing — it’s just on a different timeline.
The way around the visual mismatch, if it matters to you, is timing the work so the seed has a head start. Aerate and overseed the salvageable section first, let it establish for several weeks, then bring in sod for the damaged section closer to when you want the whole property looking finished simultaneously.
Where Mixing Actually Fails — The Mistakes I See
Mixing sod and seed works well when it’s done thoughtfully. Here’s where I see it go wrong on Sudbury properties.
Using different grass varieties without thinking about it. If the sod you install is a different blend than the seed you spread — different shade of green, different blade texture, different growth habit — the two sections will look visually distinct even after both establish fully. This is a common and avoidable mistake. Match the sod variety to the seed blend as closely as possible, or better yet, use the same supplier for both so you know they’re compatible.
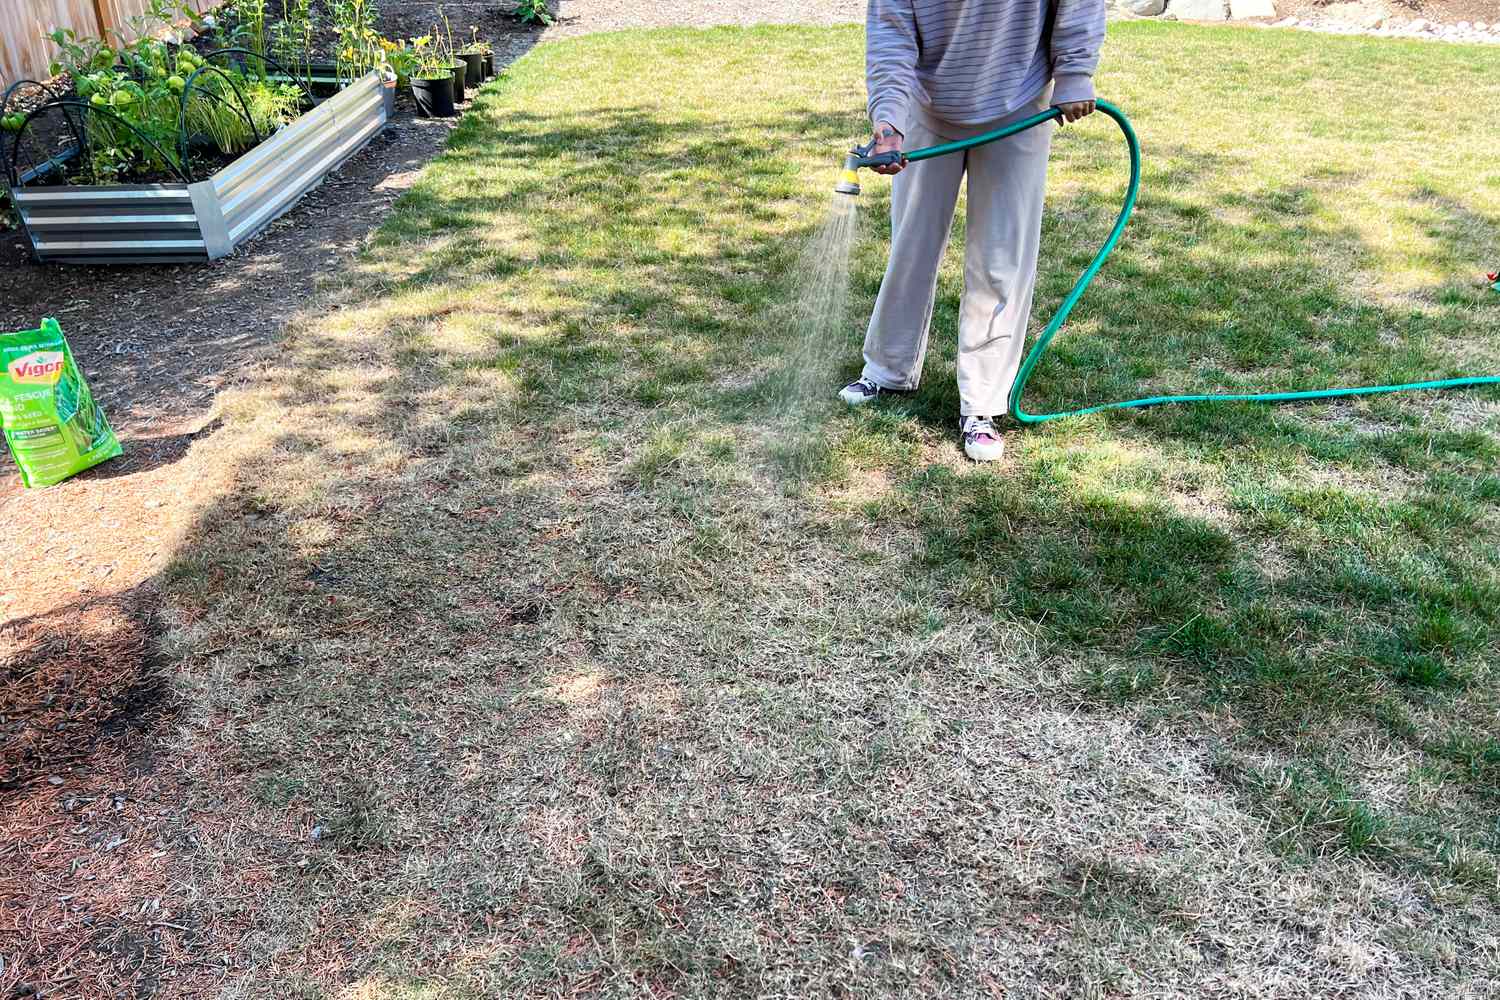
Seeding into soil that’s too compacted to support it. If the reason a section was thin in the first place was severe compaction, seeding without aerating first produces the same poor results it would on a single-approach project. Core aeration before overseeding matters just as much in a mixed project as it does in a standalone one — the rules for each technique don’t change just because they’re being used side by side.
Sodding over an unaddressed underlying problem. If a section died because of a drainage issue and you lay sod over it without fixing the grading, the sod will struggle and eventually fail in the same spot for the same reason the original grass did. Sod is more forgiving than seed in the short term because it arrives with an established root mat, but it’s not immune to a drainage problem that’s actively drowning the roots underneath it.
Skipping the transition zone prep. Beyond just matching grade height, the actual soil at the boundary between sod and seed areas needs to be prepared consistently — same depth of topsoil, same level of compaction relief — or the transition line will show up as a visible difference in grass density and colour even after everything establishes, simply because the soil conditions underneath are different.
A Real Example — How This Played Out on One Property
A homeowner in Garson called me with a fairly typical situation. About 60 percent of the front lawn was reasonable — thin from years without aeration, but alive. The remaining 40 percent, concentrated along the south-facing edge near the driveway, was almost entirely dead from a combination of heat stress and what turned out to be a significant grub population.
Here’s the sequence we followed. First, a full property cleanup to clear debris and see exactly what we were working with. Then core aeration across the entire lawn — both the section we’d be seeding and the section we’d be sodding, because the soil underneath the dead area needed to be opened up before any new turf — sod or seed — would have a chance to root properly.
We treated the grub population in the dead section before doing anything else there — sodding over an active grub population just gives the new sod the same root damage the old grass had. Once the grubs were addressed, we excavated that section to account for the sod’s thickness, brought in fresh topsoil to match the surrounding grade, and laid sod matched as closely as possible to the existing grass variety.
The remaining 60 percent got overseeded immediately after the aeration, while the plug holes were still open for direct seed-to-soil contact.
The timeline split was intentional — we did the overseeded section first in late May, gave it about three weeks to establish, then brought in the sod in mid-June once the grub treatment had cleared and we wanted both sections converging toward looking established around the same time. By early July, walking that property, you couldn’t identify where the original 60 percent ended and the sodded 40 percent began. Same green, same density, same texture.
How to Decide If Your Lawn Is a Mixing Candidate
Walk your property and look honestly at the proportion of live grass versus dead or severely thin areas. If it’s heavily one or the other — almost entirely healthy or almost entirely gone — a single approach probably makes more sense than mixing. If you’re looking at distinct zones where one area is clearly salvageable and another is clearly not, that’s exactly the situation where mixing saves money without compromising the result.
The other factor worth considering is whether the damaged section has an underlying cause that needs addressing regardless of which approach you choose. Drainage issues, grub populations, severe compaction — these need to be dealt with before either sod or seed will hold, mixed approach or not. I walked through this diagnosis-first approach in detail in the lawn restoration article here — identifying the cause before choosing the fix applies whether you’re doing one technique or combining two.
If you’re not sure which sections of your property need which approach, that’s exactly what a quote call is for. I’ll walk the lawn with you, section by section, and tell you honestly where sod makes sense, where seed makes sense, and how to sequence the work so it comes together as one lawn instead of two separate projects.
📞 705-507-6787
🔗 Get a Free Quote
📍 Serving Greater Sudbury — Garson, Val Caron, Hanmer, Lively, Chelmsford, Azilda, Capreol
— Ryan
Frequently Asked Questions
Can you mix sod and seed on the same lawn in Sudbury?
Yes — and it’s often the most cost-effective approach when different sections of a property are in genuinely different condition. Sod works best on areas that are more than 50 percent dead or bare, while overseeding works well on sections that still have a healthy grass base. The key to a seamless result is matching the soil grade at the transition line, using a compatible grass variety, and addressing any underlying problem — drainage, compaction, grubs — before installing either.
Will sod and seed look different on the same lawn?
They can, if the grass varieties don’t match or the transition isn’t prepared properly. Using the same supplier or matching the sod variety to the seed blend significantly reduces visible differences. Soil grade also matters — sod needs to be installed slightly below the surrounding grade to account for its own thickness, so the finished height matches the seeded or established sections around it. Done correctly, a mixed lawn can look completely uniform within one growing season.
How long does it take for sod and seed to look the same when mixed on one Sudbury lawn?
Sod looks established within about 30 days. Seed takes 6 to 12 weeks to reach a comparable appearance. If both are started at the same time, expect a visible difference for several weeks while the seeded area catches up. Many Sudbury homeowners time the work so the seeded section gets a head start — overseeding several weeks before installing the sod — so both areas converge toward a finished look around the same time.
Do I need to aerate before mixing sod and seed on a Sudbury lawn?
Yes, on most Sudbury properties. Core aeration should happen across the entire lawn — including the area that will eventually get sod — before either technique is applied. Sudbury’s clay soil compacts severely, and both sod and seed establish better in soil that’s been opened up first. Aerating only the seeded section and skipping it under the future sod area misses an opportunity, since the sod still needs to root into that soil over time.
What’s the biggest mistake people make mixing sod and seed in Sudbury?
Skipping the grade adjustment at the transition between sod and seed areas. Sod sits on top of the soil at its own thickness — typically half an inch to an inch. If that area isn’t excavated slightly lower before installation, the sodded section ends up higher than the surrounding lawn, creating a visible ridge and a tripping hazard. The second most common mistake is sodding or seeding over an unresolved underlying problem like drainage or grub damage, which causes the new turf to fail for the same reason the original grass did.
Ryan Lingenfelter is the owner of Cutting Edge Lawn & Landscaping in Garson, Ontario. Since 2020, his crew has provided full lawn care services across Greater Sudbury — Garson, Val Caron, Hanmer, Lively, Chelmsford, Azilda, and Capreol. Cutting Edge is licensed, insured, BBB A+ rated, and ThreeBest Rated for lawn care services in Sudbury.
📞 Phone: 705-507-6787
📍 Service Area: Greater Sudbury, Ontario
🔗 Free Quote: cuttingedgelawn.ca/quote
Helpful Lawn Care Services in Sudbury
- Sod Installation in Sudbury
- Core Aeration for Healthy Lawns
- Grass Cutting Services
- Property Cleanup Services
- Mulch & Decorative Stone
- Hedge Trimming Services
Continue Reading
- Sod vs Seed in Sudbury — Which One Is Right for Your Lawn?
- What a Sudbury Lawn Looks Like 30 Days After Sod Installation
- The Worst Sudbury Lawn I’ve Seen — Restored in One Season