
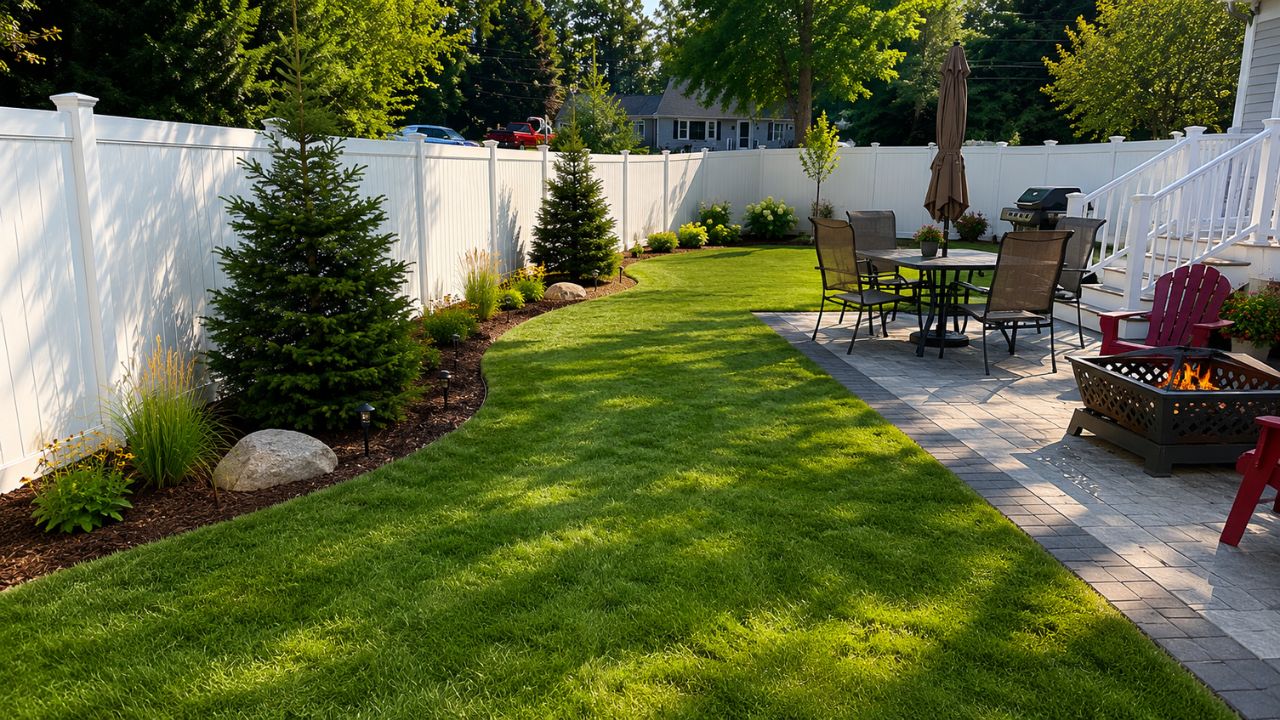
I get a version of the same question fairly often from homeowners who are getting ready to book a sod job.
“So what actually happens that day? Like, walk me through it.”
It’s a fair question. You’re about to have a crew show up at your property, work on it for most of a day, and hand you back a lawn that looks completely different than it did that morning. Most people want to know what to expect — when to be home, what we’ll need from them, what the lawn will look like when we’re done, and what their job is for the next month.
So here it is. A full walkthrough of what a sod installation day actually looks like on a typical Sudbury residential property, from the time we pull up to the time we pack up and leave.
Before We Arrive: What We Know About Your Property
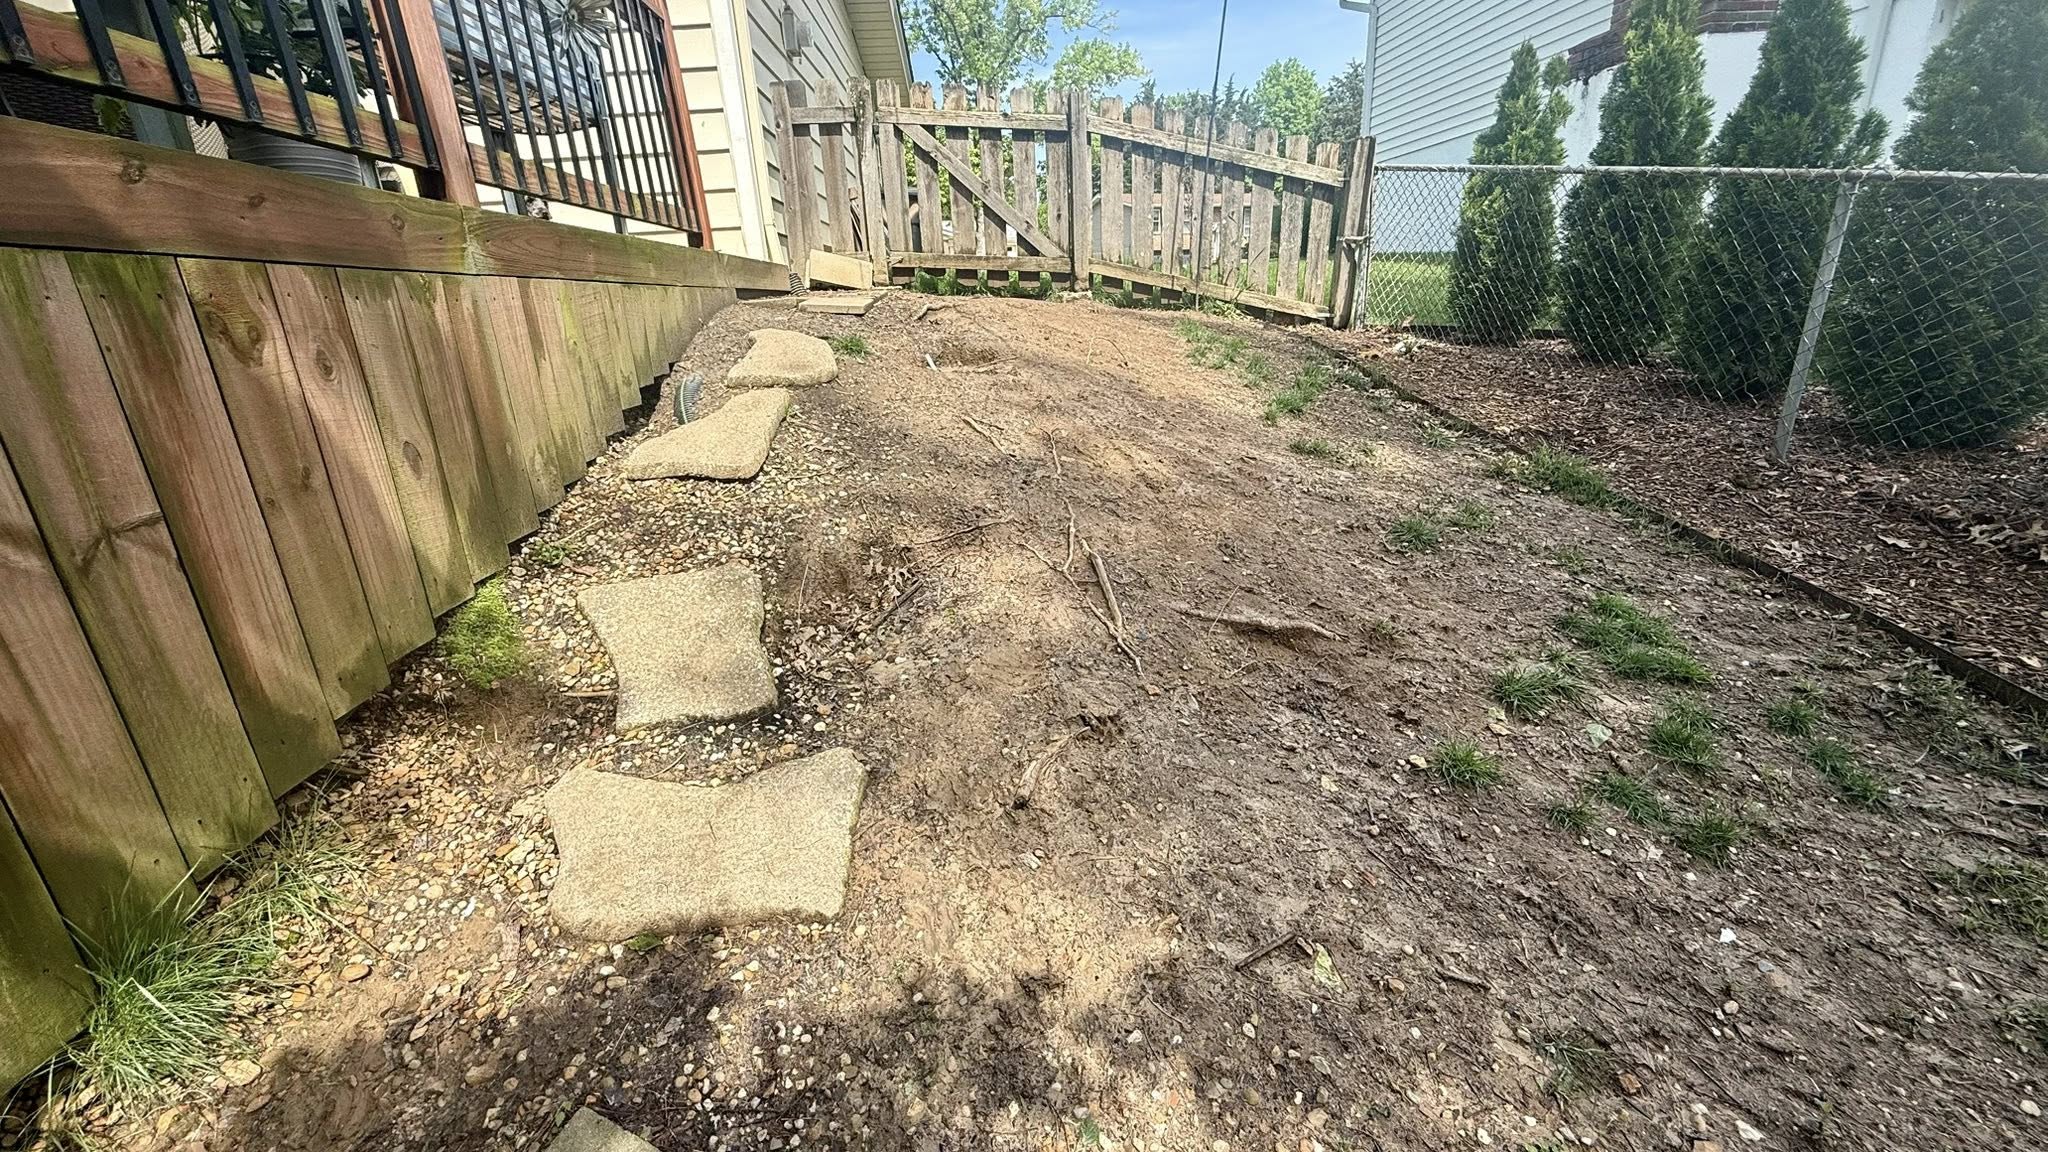
By the time we show up on installation day, I’ve already walked your property at least once for the initial assessment. I know roughly how many square feet we’re working with, what condition the existing soil is in, whether we need to bring in additional topsoil, how the drainage sits, and what obstacles — beds, walkways, trees, structures — we’re working around.
I’ve also already had the conversation with you about whether sod is the right call or whether repair makes more sense. If you haven’t had that conversation yet and you’re trying to figure out which way to go, I wrote a full breakdown of the replace vs repair decision that walks through exactly how I think about it. Sod is the right answer in specific situations — not every struggling lawn needs full replacement.
The sod itself has been ordered from our supplier and is arriving fresh that morning or was picked up the day before. Sod has a shelf life once it’s cut — the rolls heat up from the inside and the grass starts to deteriorate if it sits too long. We time delivery so installation happens as close to cutting as possible. Fresh sod roots faster and establishes more uniformly than sod that’s been sitting.
The crew arrives early. We’re usually on site between 7:30 and 8:00am on a sod day. There’s a lot of ground to cover and we want to be finished and have the lawn watered before the heat of the afternoon.
Morning: Soil Preparation
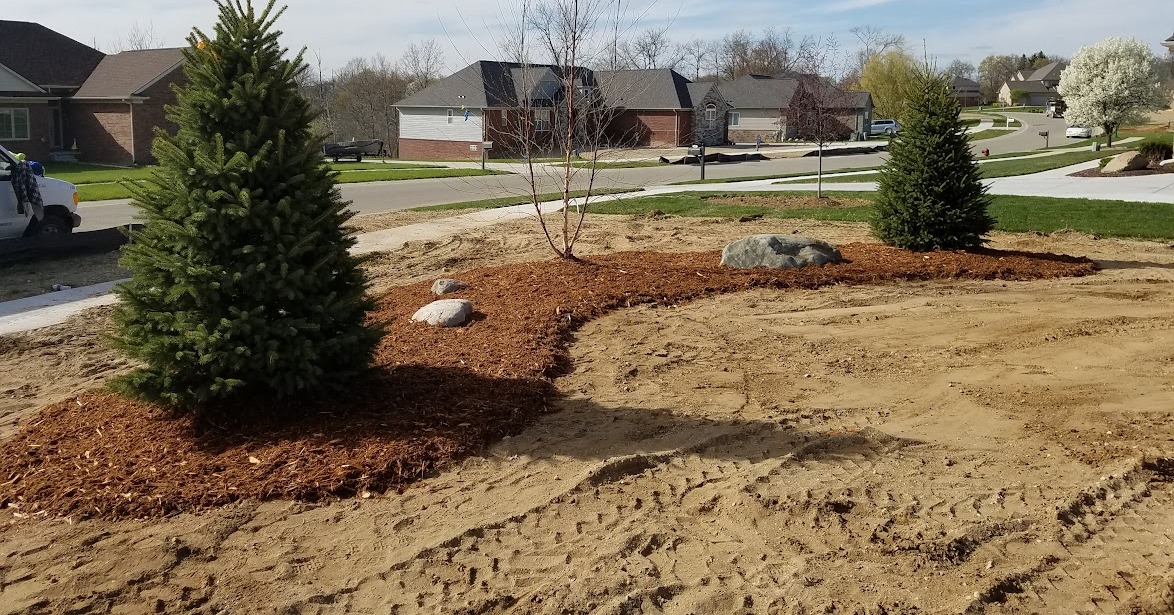
This is the part of the job that takes the most time and matters the most. I’ll say that directly: soil preparation is what separates a sod installation that holds for years from one that struggles six months in. If you ever get a quote from someone who skips or minimizes the prep work to lower the price, walk away.
Here’s what the morning prep involves.
Removing the Old Material
If we’re replacing an existing lawn — dead grass, old sod, whatever’s there — that comes out first. Depending on the size of the area and the condition of the existing surface, we’ll use a sod cutter, a power rake, or in some cases hand tools for tight areas around beds and structures. Everything that comes up gets loaded and removed from the property. We’re not leaving dead grass piled in a corner of the yard.
On properties where the damage was caused by grub infestation, this stage is particularly thorough. We remove all the affected material completely rather than tilling it back in, because we want a clean base and we want to see what the soil looks like underneath before we add anything to it.
Assessing and Amending the Soil
Once the surface is clear, I look at what we have to work with. In Sudbury, this step can vary a lot by property. Some areas have reasonable topsoil depth — 4 to 6 inches above the Shield rock — and just need to be loosened and levelled. Other areas, especially older properties or lots where builder’s topsoil was thin to begin with, need additional topsoil brought in before the sod goes down.
Sod needs a minimum of 4 inches of good topsoil to root properly. If we lay sod directly over 2 inches of topsoil sitting on compacted subsoil or rock, the roots hit a hard barrier and the lawn struggles permanently. I’d rather have that conversation before the job than have a customer calling me the following spring wondering why their new sod is thinning.
If topsoil is needed, we bring it in and spread it before doing anything else. This adds time and cost to the job, but it’s not optional if the soil depth isn’t there.
Tilling and Loosening
Once the soil base is established, we till it to loosen the surface. Compacted soil — and after a Sudbury winter, almost all soil is compacted — doesn’t allow sod roots to penetrate easily. Tilling breaks up that compaction, creates a loose surface the roots can push into, and mixes any amendments evenly through the top few inches.
Grading
This step matters more than most homeowners realize. The soil surface needs to be graded so that water drains away from the house and away from structures, not toward them. It should also be as level as possible — low spots will become pooling areas after the sod is down, and that standing water will stress the grass and create ongoing problems.
We rake the surface, check the grade visually and with a level where needed, and fill or remove material to get it right. On a full lawn replacement, grading alone can take an hour or more. On smaller patches, it’s faster. Either way, it doesn’t get rushed.
By the time soil prep is done — usually late morning, sometimes closer to midday on larger or more complex properties — the surface looks like a smooth, loose bed of soil, properly graded, ready to accept sod. That’s when the real transformation starts.
Midday: The Sod Goes Down
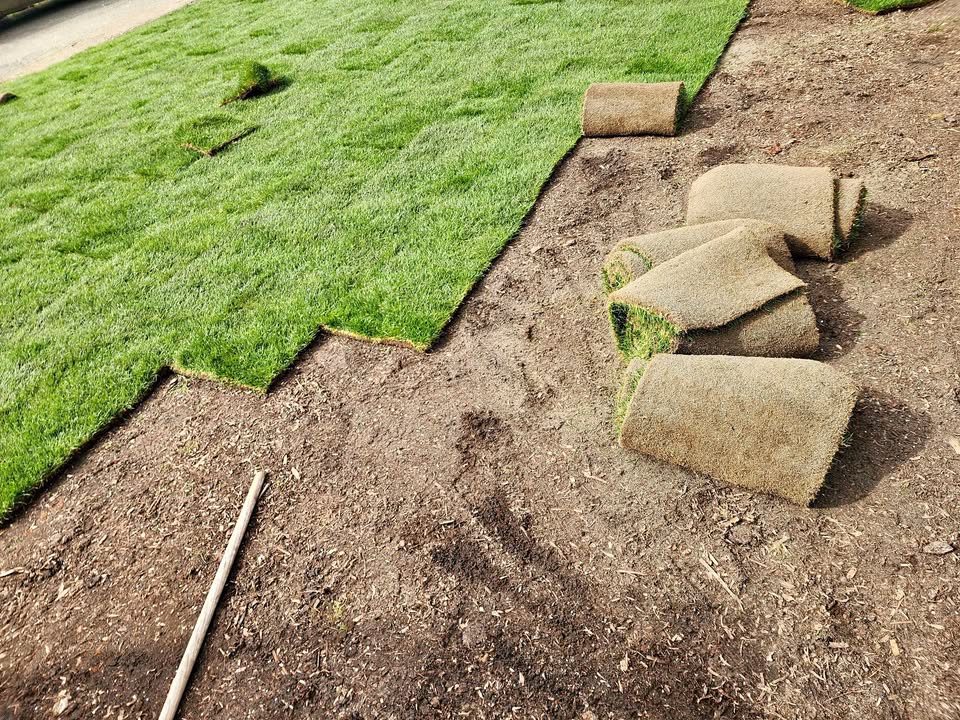
This is the part of the day that moves quickly. Once the prep is done, a crew that knows what they’re doing can lay sod fast. On a typical Sudbury residential backyard — say 1,000 to 1,500 square feet — the laying itself takes two to three hours.
Starting Point and Direction
We start along the longest straight edge of the area — usually a fence line, the back of the house, or a walkway. Laying along a straight edge first gives us a clean reference line for every subsequent row.
The rolls are laid tight end-to-end with no gaps and no overlap. Gaps between rolls dry out and die. Overlapping rolls create ridges. Tight, flush joints are what you’re after.
Staggered Pattern
Every row is offset from the last — the same way bricks are laid in a wall. The end joints of one row sit in the middle of the pieces in the row above and below it. This staggered pattern prevents long seams from running in straight lines across the lawn, which would be both visible and structurally weaker than the staggered layout. On an established sod job, the seam pattern becomes essentially invisible within a few weeks. On a poorly laid job where the seams line up straight, you can see the rows for months.
Cutting and Fitting
Around beds, along curved edges, at corners, and against any structure — the sod needs to be cut to fit cleanly. We use a sharp knife or edging tool for this. Clean cuts matter. Ragged edges where the sod is torn rather than cut don’t fit tight against obstacles and tend to dry out at the edges faster.
Fitting sod around tree bases, garden beds, and irregular lawn shapes takes patience and adds time to the job, but it’s what separates a professional installation from a rough one. The edges are what people see first, and they tell you a lot about the quality of the work.
Rolling
Once all the sod is down, we go over the entire area with a lawn roller. Rolling presses the sod firmly into contact with the prepared soil underneath. This contact is critical — any air pockets between the sod and the soil below will prevent rooting in those spots and create dead patches. The roller eliminates those air pockets and sets the sod flat and even.
After rolling, we do a final walk of the whole area, checking for any lifted edges, gaps, or sections that need adjustment before we move to the last step.
End of Day: What Your Lawn Looks Like and What Happens Next
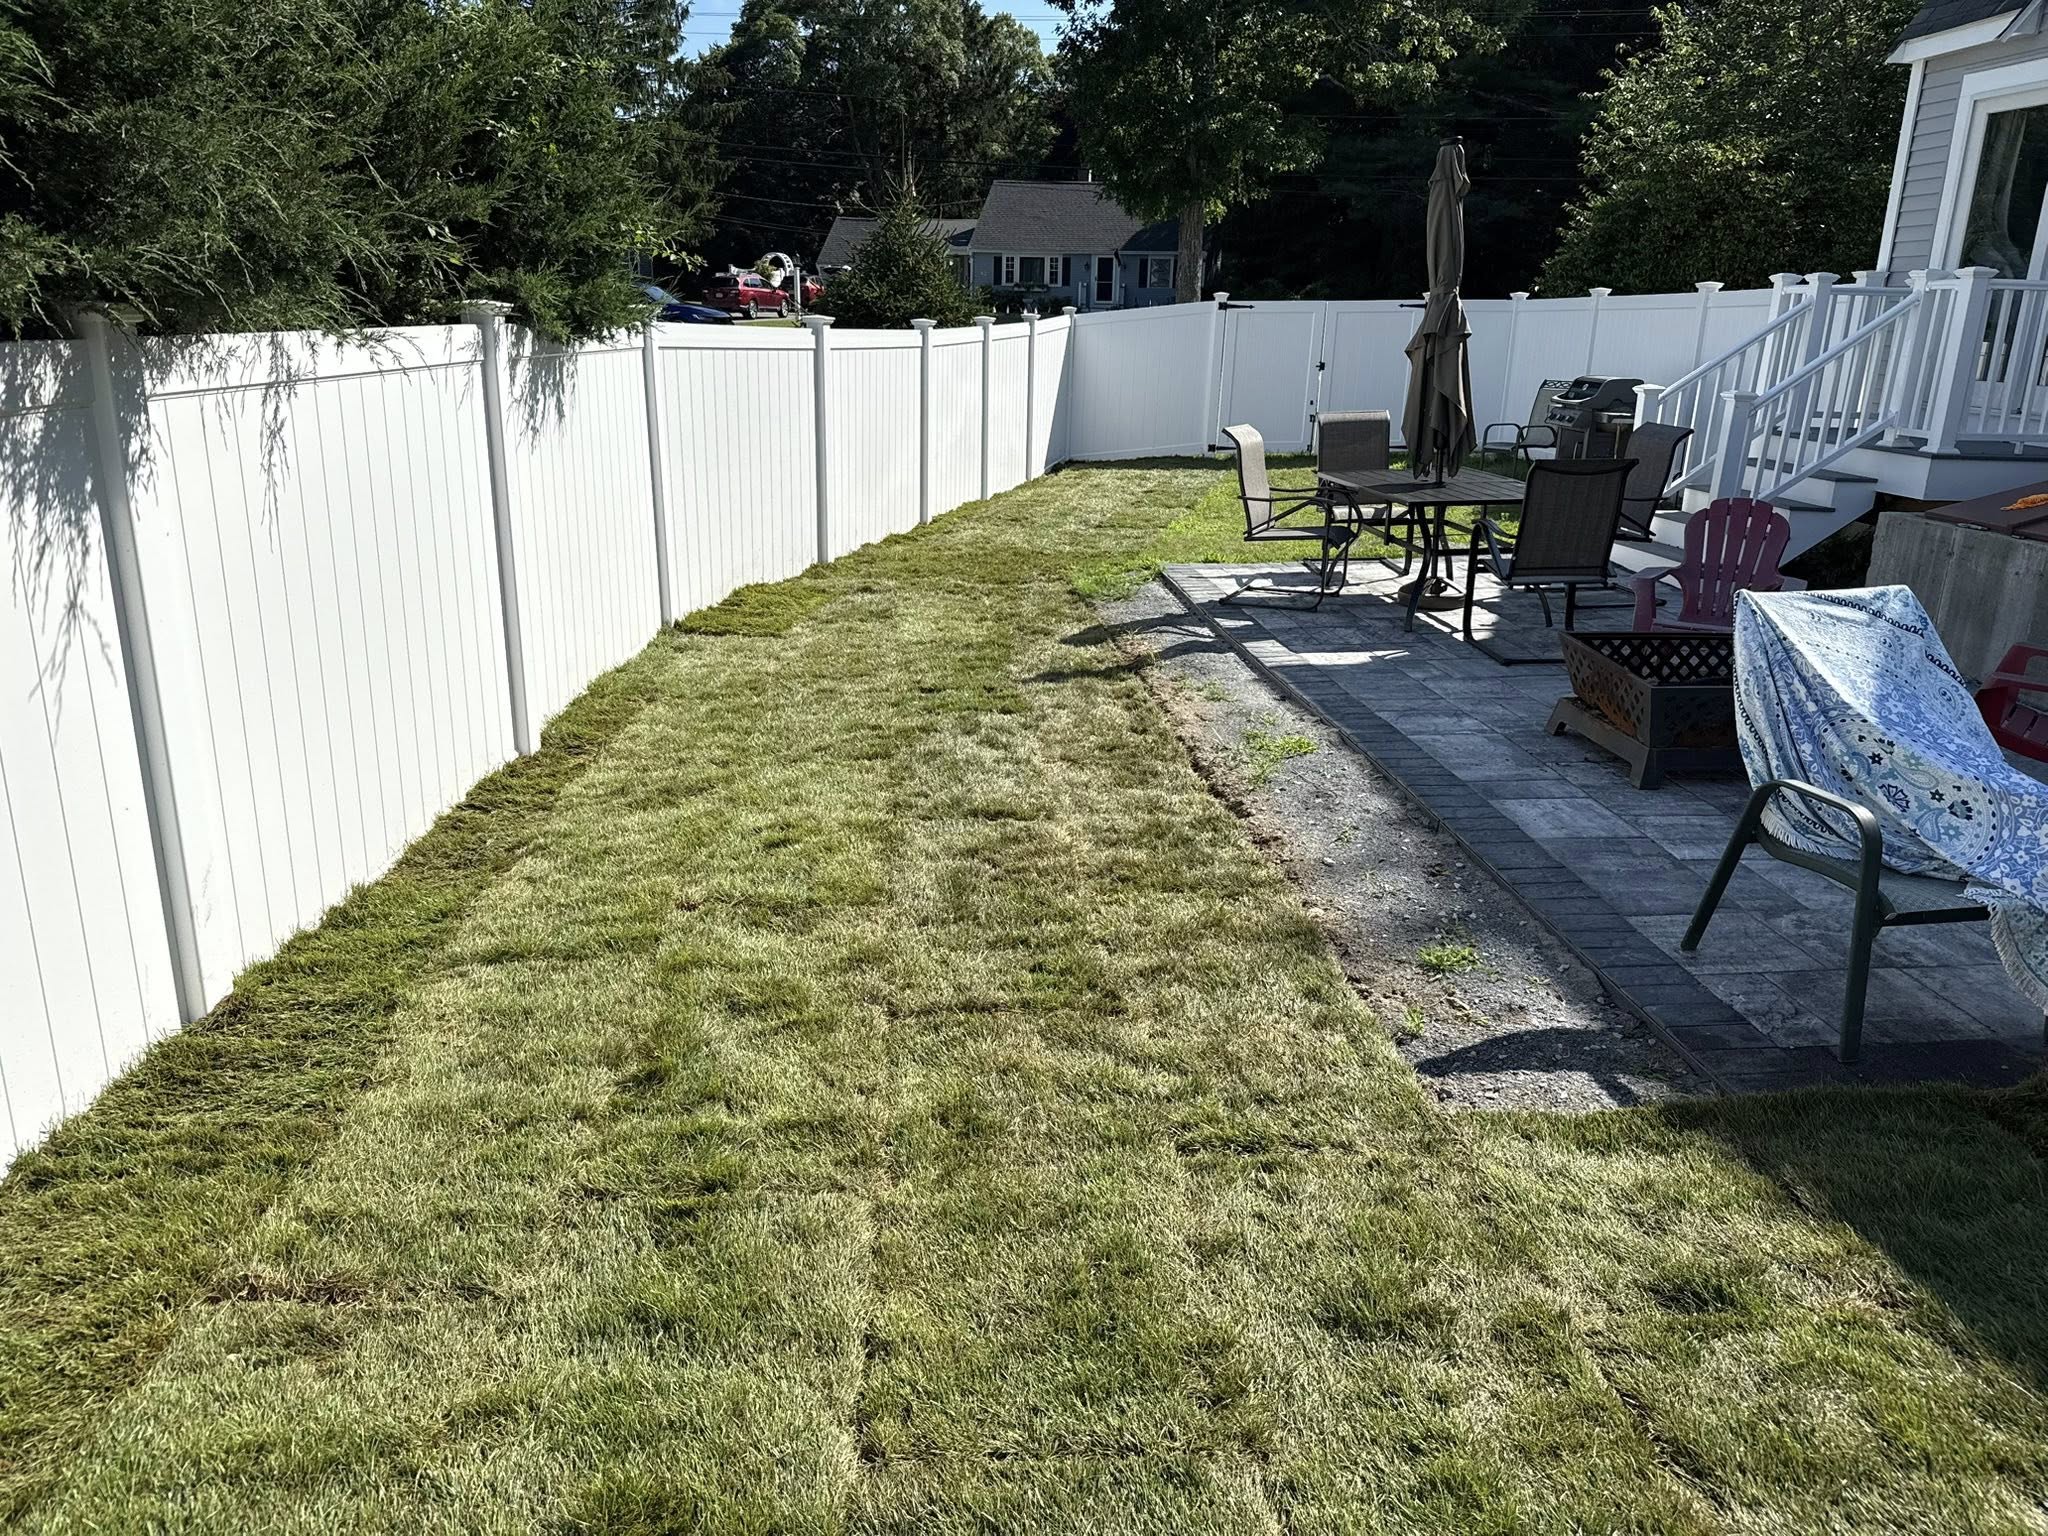
By late afternoon — usually between 3:00 and 5:00pm depending on the size and complexity of the job — we’re packing up. Here’s what the property looks like at that point and what I tell every customer before I leave.
What You’re Looking At
The lawn looks like a lawn. Not a lawn that needs to grow in or fill out — it looks complete, green, and even. The seam lines are visible up close if you look for them, but from standing height the surface looks uniform. The edges are clean where we cut around beds and structures.
There will be slight indentations where the roller pressed down — that’s normal and settles out within a week or two as the sod roots and the surface firms up. The lawn may look slightly different in colour from section to section on day one, especially if we used sod from more than one pallet. That evens out quickly once the grass starts growing uniformly.
Your Job Starts Now — Watering
This is the part of the conversation I take seriously with every customer, because it’s the part where most sod failures happen.
New sod needs water. A lot of it, consistently, for the first month. The sod rolls we laid had their roots cut when they were harvested. Those roots need to grow down into your prepared soil to establish the lawn permanently. Until that happens — which takes two to four weeks depending on conditions — the sod is surviving on whatever moisture is in the rolls themselves and whatever you’re putting on top.
Here’s the schedule I give every customer:
- Week 1 and 2: Water deeply every day, ideally in the early morning. You want the soil under the sod moist — not just the surface of the sod wet, but the soil below it. Lift a corner of a sod piece after watering and check that the soil underneath is damp to at least 2 inches. If it’s dry below the sod, you’re not watering enough.
- Week 3 and 4: Water every other day, same depth. The roots are starting to establish and the sod can tolerate slightly longer gaps between watering, but it’s not independent yet.
- After week 4: Transition to a normal watering schedule. By this point the sod should be rooted and the lawn is established.
In Sudbury’s summer heat, if the sod dries out completely in the first two weeks, sections will die. The edges dry out first — watch those especially in hot or windy weather. If you see any corner or edge lifting or turning straw-coloured, water immediately and press it back down firmly.
First Mow
Wait until the sod is firmly rooted before the first mow — usually two to three weeks after installation. Test it by trying to lift a corner of a sod piece. When you can’t lift it without significant resistance, it’s rooted. Mow before that and you risk pulling the sod up with the mower, especially at the edges.
First mow height: keep the deck high. Three to 3.5 inches for Sudbury conditions. Cutting too short too early stresses new sod more than almost anything else you can do.
Ongoing Care in Year One
After the first month, treat the lawn normally. Mow high, water during dry stretches, and fertilize in fall if you didn’t do a starter fertilizer at installation.
In the following spring — about 10 to 12 months after installation — I’d strongly recommend core aeration in the late May to early June window. New sod compacts faster than established lawns in the first year or two as the soil settles and the root system densifies. Aeration in that first spring keeps the soil open and sets the lawn up to perform well for years. It’s the single most effective maintenance step for a newly laid lawn in Sudbury’s climate.
If you had a grub problem on the property that led to the sod replacement, the nematode treatment we scheduled for August is non-negotiable. Don’t skip it. New sod over an untreated grub infestation is a short-term fix. The nematodes are what makes the repair permanent.
Questions I Get Asked on Every Sod Job
A few things come up consistently that are worth addressing directly.
“Can my kids and dog use the lawn right away?” No — not for the first two to three weeks. Foot traffic on new sod before it roots compresses the soil contact and creates uneven rooting. Keep everyone off it until after the first mow.
“What if it rains a lot right after installation?” Light to moderate rain is fine — it’s free watering. Heavy rain that puddles on the surface can shift sod pieces or waterlog the soil. If you get a heavy downpour in the first week, check the lawn afterward for any pieces that have moved or edges that have lifted and press them back into place.
“Will the seam lines go away?” Yes. Within three to four weeks the grass from adjacent pieces grows together and the seams become invisible. In the first week or two they’re visible up close. By week four on a properly watered lawn, you can’t find them.
“What if a section dies?” Call me. Occasional small sections of sod fail for various reasons — a dry spot we missed, a piece that didn’t root as well as the rest. In most cases it can be patched quickly. Don’t wait and hope it comes back. If a piece is visibly dead two weeks after installation, it needs to be replaced.
Ready to Book or Still Deciding?
If you’ve already decided sod is the right call for your property, call me and we’ll get the job scheduled. We’re working across Greater Sudbury through the spring and early summer and the calendar fills up, so the sooner you book the better for timing.
If you’re still trying to figure out whether sod is actually what your lawn needs, I’d suggest reading through the replace vs repair breakdown first, and if you’re dealing with significant dead patches after this winter, the winter damage recovery guide might answer your questions without needing a full replacement at all.
Either way, I’m happy to come out and walk the property with you. No charge for the assessment. I’ll tell you honestly what I see and what I’d recommend — including if repair makes more sense than sod.
Call or text: 705-507-6787
Or fill out the free quote form on the site.
We cover all of Greater Sudbury — Garson, Val Caron, Hanmer, Lively, Chelmsford, Azilda, Capreol.
— Ryan Lingenfelter
Cutting Edge Lawn & Landscaping
Garson, Ontario
705-507-6787
