
By Ryan Lingenfelter · Cutting Edge Lawn & Landscaping, Garson, Ontario · June 2026
I get this question more than you’d think. Someone orders sod, it gets delivered, and then something delays the installation — a rental equipment problem, a family thing, unexpected rain that makes the ground too soft to work. Now the sod is sitting on a pallet in the driveway and they’re watching the clock, wondering how long they have.
Or they ordered it a day early thinking they’d get ahead of the job, and now they’re not sure if they’ve made a mistake.
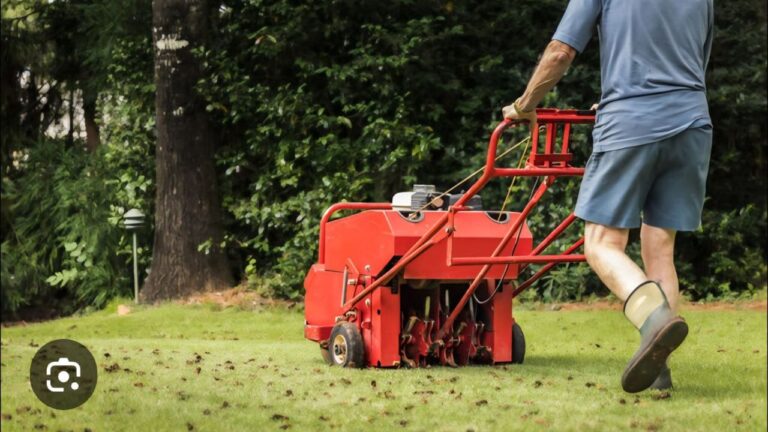
I’ve installed sod across Greater Sudbury since 2020 — properties in Garson, Val Caron, Hanmer, Lively, Chelmsford, Azilda, Capreol. I’ve seen fresh sod go down perfectly and I’ve seen sod arrive damaged from sitting too long. Here’s the honest answer to how long you actually have — not the optimistic answer from a sod supplier, the real answer from someone who installs it.
The honest answer — how long sod actually survives on a pallet

The honest answer is: 24 hours in summer. 48 hours if you’re lucky and conditions are cool.
That’s it. I know some suppliers say 48 to 72 hours. I know you’ll find forum posts saying sod can survive on a pallet for several days if you water it. In my experience in Greater Sudbury’s climate, those numbers are optimistic to the point of being misleading for anyone who wants good results after installation.
Here’s why the window is shorter than people expect.
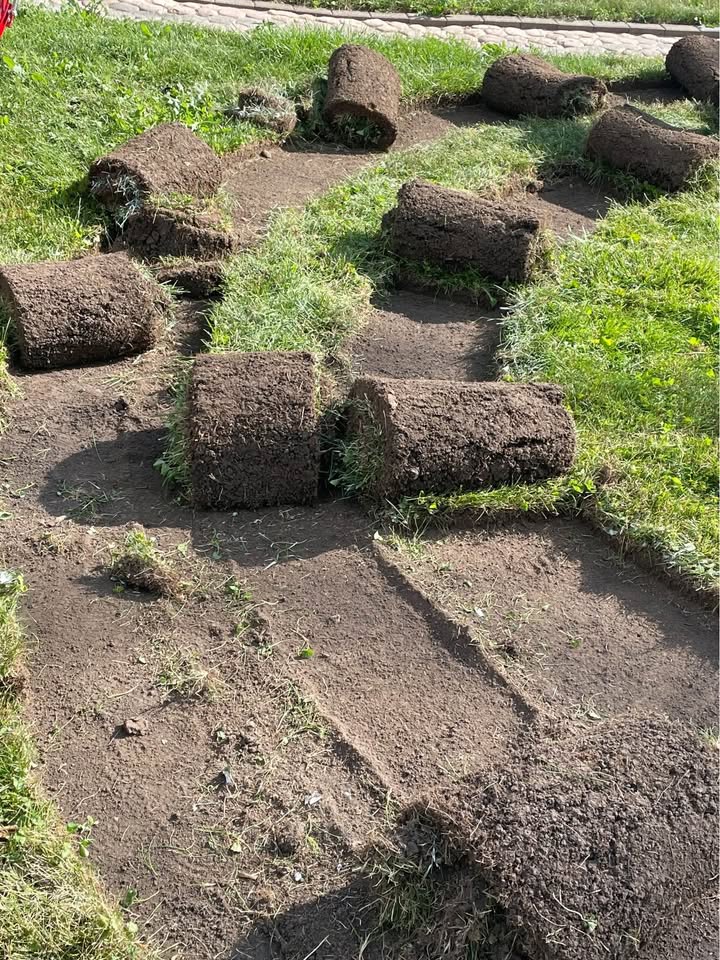
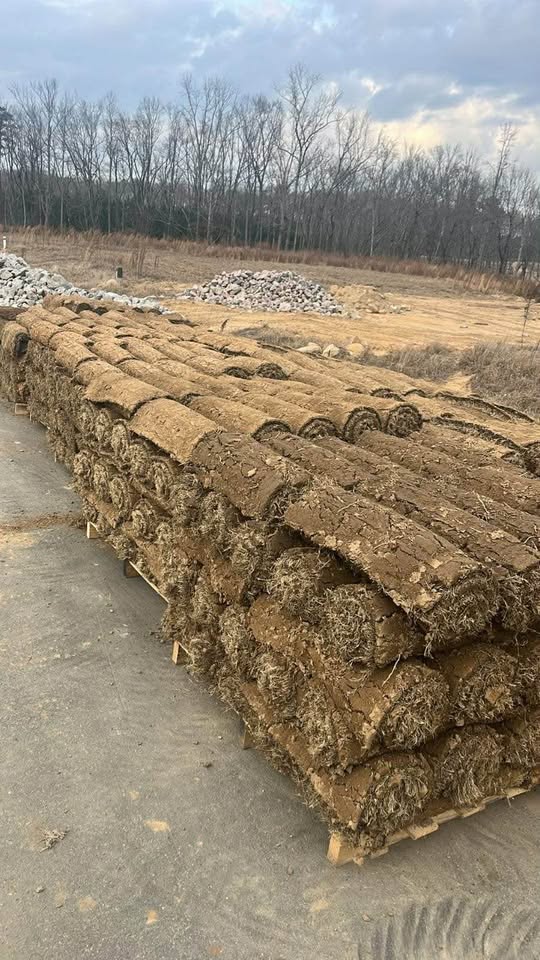
Sod on a pallet is stacked — rolls or slabs on top of each other, grass side in or grass side out depending on how it was harvested. The rolls in the middle of the pallet generate heat as the cut organic material begins decomposing. In warm summer temperatures, the internal temperature of a sod pallet can reach 50 to 60 degrees Celsius within 12 to 18 hours of delivery. That’s not air temperature — that’s the temperature inside the stack. Grass roots die at sustained temperatures above about 38 degrees. Do the math.
In a cool, overcast spring day — May in Sudbury, say 15 degrees air temperature with cloud cover — you have more time. The decomposition heat builds slower, the grass isn’t already heat-stressed, and 36 to 48 hours is genuinely achievable without major quality loss.
In a July afternoon in Greater Sudbury with air temperatures at 28 to 30 degrees — which is exactly when a lot of people are doing sod projects — 24 hours is your real window. Some of that sod, particularly the pieces in the centre of the pallet, may already be compromised by the time you get to them if you wait even that long.
The single most important thing I tell homeowners who are planning a sod installation: order sod to arrive the morning you’re ready to install, not the day before. Every hour it sits on a pallet in summer is an hour working against you.
What happens to sod hour by hour after delivery
Understanding the timeline helps you make better decisions if you’re in the middle of a delayed installation. Here’s what’s actually happening to the sod as time passes.
Hours 1 to 6: The sod is in good condition. The roots are still alive and active. The grass is stressed from being cut and rolled but hasn’t begun to deteriorate significantly. If you install in this window, you’re working with sod that will root and establish well. This is the window you want.
Hours 6 to 12: Internal pallet temperature is rising. The outer rolls — the ones on top and on the edges — are still in reasonable condition. The inner rolls are beginning to heat up. If you open the pallet and feel warmth coming from the centre stack, you’re already past the early window. Sod installed from this stage can still work but establishment will be less reliable, particularly on the inner rolls.
Hours 12 to 24: In summer temperatures, the inner rolls are significantly stressed. Root activity is declining. The grass blades on the inner rolls may be yellowing or showing heat stress. Outer rolls are still workable if installed promptly. This is the point where installation quality starts dropping noticeably. If you’re in this window, prioritise getting it in the ground over doing it perfectly — done imperfectly is better than waiting another day.
Hours 24 to 48: In summer, a significant percentage of the sod — particularly interior rolls — is likely dead or dying. You may be able to salvage the outer rolls with immediate installation and aggressive watering, but don’t expect full establishment. In cool spring conditions this range is more forgiving, but even then you’re working with stressed material. I’ve seen sod installed at 36 hours in May take reasonably well. I’ve never seen sod installed at 36 hours in July take well.
Beyond 48 hours: In summer, most of this sod is too far gone for reliable establishment. The inner rolls will almost certainly fail. The outer rolls are a gamble. If you’re at this point in July, call your supplier and have an honest conversation about whether the sod is still viable before you do the work of installing it.
This timeline is why the installation sequence matters so much. I wrote about the preparation work that needs to happen before sod goes down in the article on sod installation in Sudbury — the soil prep, grading, and timing that determines whether the sod you spend money on actually roots. All of that prep should be done before the sod arrives, not after, so you’re installing into a ready surface the moment the delivery truck leaves.
How to tell if sod is already dead before you install it
Before you install any roll of sod, check it. This takes ten seconds per roll and saves you the work of laying dead material that will never establish.
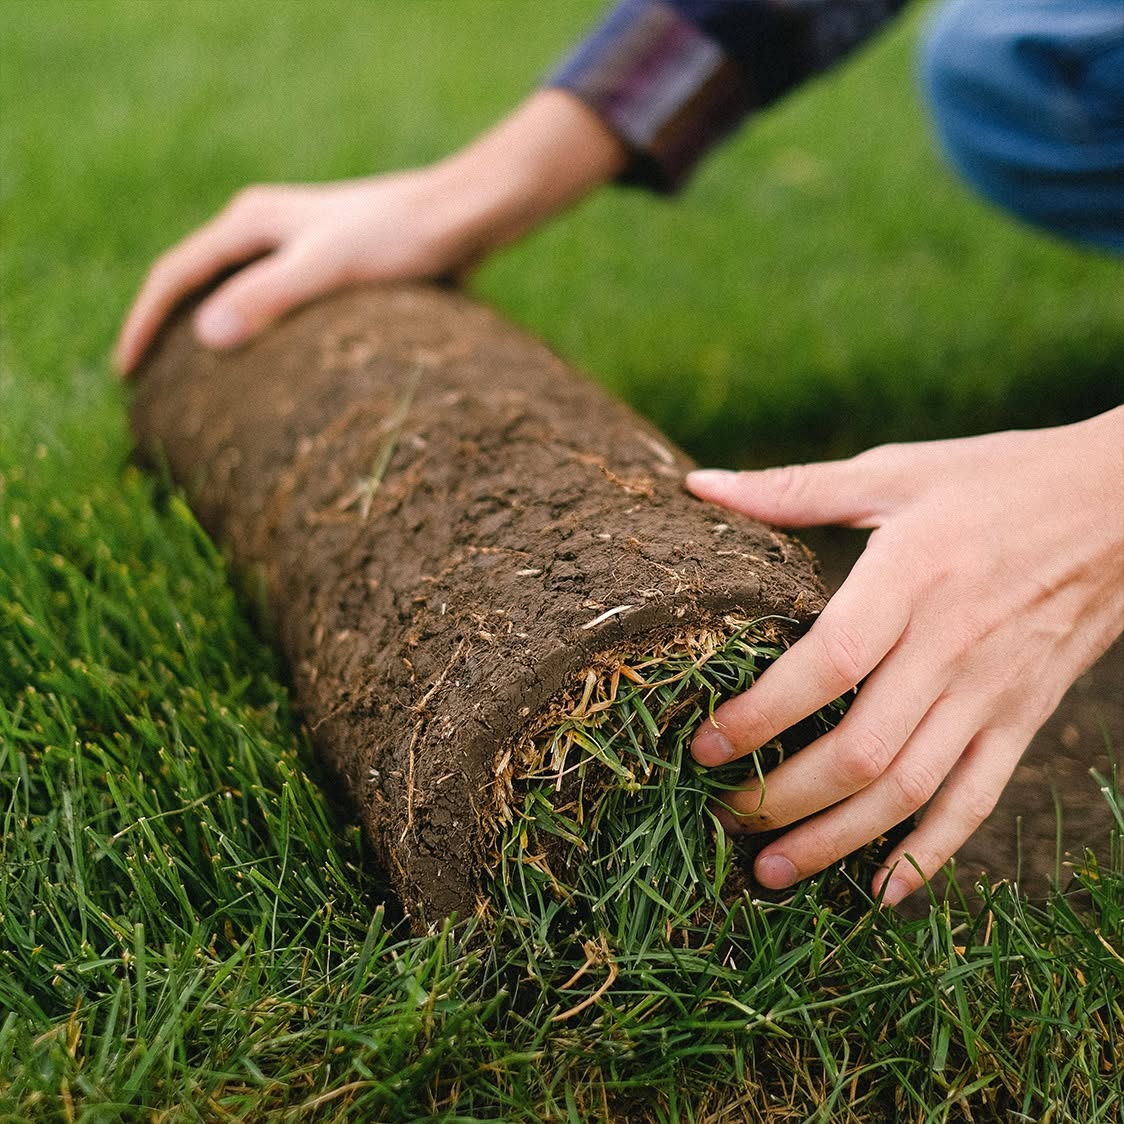
The pull test. Grab the grass blades of a roll and give them a firm tug. On healthy sod, the blades resist and hold — the roots are alive and the plant has structural integrity. On dead or dying sod, the blades pull away from the roll easily, sometimes coming off in handfuls with almost no resistance. If the grass comes away cleanly with light pulling, the roots are gone and the sod is dead.
The colour check. Fresh healthy sod is a consistent mid-green. Stressed sod starts showing yellow or straw-coloured patches, particularly on the grass tips. Fully dead sod goes tan or brown throughout the blade. Check the inner rolls specifically — the colour change happens there first.
The heat check. Put your hand inside the pallet stack between rolls. Fresh sod feels cool and slightly moist. Stressed sod feels warm — noticeably warmer than air temperature. Dead sod in the centre of a pallet in summer can feel hot. If the centre of your pallet is warm to the touch, those inner rolls are compromised regardless of what the outer ones look like.
The root check. Unroll a piece of sod and look at the underside. Healthy roots are white or light tan, moist, and dense. Dead roots are brown, dry, and brittle — they’ll crumble when you bend them. If the roots on a roll are brown and dry, that roll won’t establish after installation regardless of how well you water it.
If you find dead rolls in your pallet, set them aside and don’t install them. Installing dead sod wastes labour and creates bare patches you’ll need to address anyway — either with more sod or with overseeding. Knowing which rolls are viable before you start lets you make better decisions about how to use what you have.
If you’re dealing with a larger bare area that might need a different approach entirely, the article on sod vs seed in Sudbury walks through when full sod installation makes sense versus overseeding — which matters if you’re trying to decide how to address a section that didn’t take after a compromised delivery.
What to do if you can’t install immediately — and what I do on every job
Sometimes a delay is unavoidable. The ground is too wet from overnight rain. The rental equipment didn’t show up. Someone got hurt. Here’s what to do to maximise the sod’s survival time if you genuinely can’t install right away.
Unstack the pallet immediately. The single most important thing you can do. Stacked rolls trap heat between them. If you can’t install, unroll every piece of sod flat on the ground — grass side up, in a shaded area if possible. This stops the internal heat buildup that kills sod faster than anything else. Flat sod in the shade survives significantly longer than stacked sod in a pallet on a hot driveway.
Water it — but not heavily. Light consistent moisture on the grass side keeps the surface from drying out and slows stress. Don’t soak it — waterlogged sod sitting on a surface develops fungal problems fast. A light sprinkle every two to three hours in hot weather is better than one heavy watering.
Get it out of direct sun. If you can move the unrolled pieces to a shaded area — beside the house, under a tree — do it. Direct sun in July accelerates the temperature buildup dramatically. Shade can double the viable time you have.
Install the inner rolls first when you do get to it. The pieces that were in the centre of the pallet are the most stressed. Install them first so they’re in the ground as soon as possible. The outer rolls, which have held up better, can wait the extra time it takes you to get to them.
On my own jobs I plan to eliminate this problem entirely rather than manage it. Here’s my standard process on every sod installation in Greater Sudbury:
All soil preparation — tilling, topsoil, grading, rolling — is completed the day before sod delivery. The surface is ready to receive sod before the truck arrives. Sod is ordered for morning delivery — typically 7 to 8am. My crew starts installation as the rolls come off the truck. On a standard residential job of 2,000 to 3,000 square feet, installation is complete by early afternoon. The sod that came off the truck in the morning is in the ground within four to six hours of delivery, watered immediately after the last roll goes down.
That sequence eliminates pallet time as a variable. The sod never gets a chance to degrade because it moves from truck to ground without stopping.
If you’re planning a DIY sod installation in Sudbury, that’s the model to follow. Order for the morning you’re ready. Have the surface completely prepared before delivery. Install as fast as you reasonably can. Water immediately and thoroughly once the last piece is down — deep watering at installation, then consistent light moisture for the first two weeks as I described in the article on overseeding and seed establishment timing — the same moisture principles apply to new sod rooting in the first weeks after installation.
If you want a sod installation done right without the stress of managing the timeline yourself — give me a call. I’ll tell you what the job involves, what it’ll cost, and how we handle delivery and installation to make sure the sod you pay for actually becomes lawn.
📞 705-507-6787 | Get a free quote online
— Ryan Lingenfelter
Owner, Cutting Edge Lawn & Landscaping
Garson, Ontario · 705-507-6787